March 22, 2026
Track and Magnetic Systems: Light You Can Move
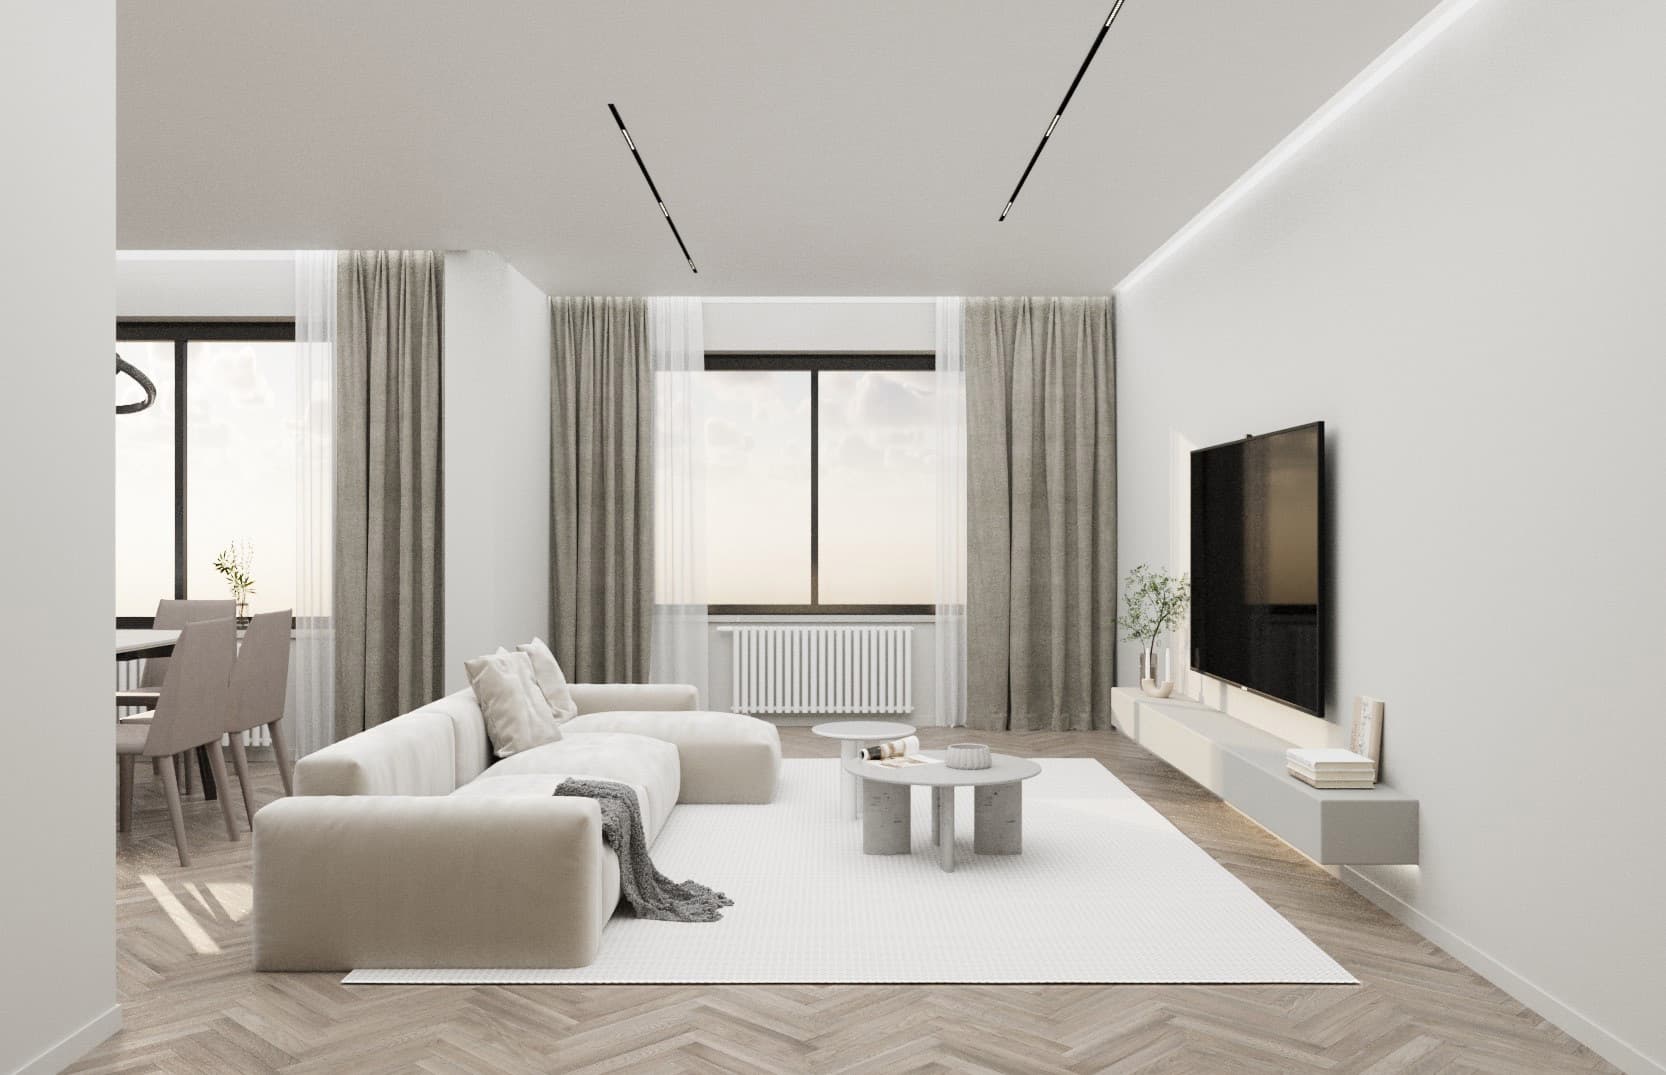
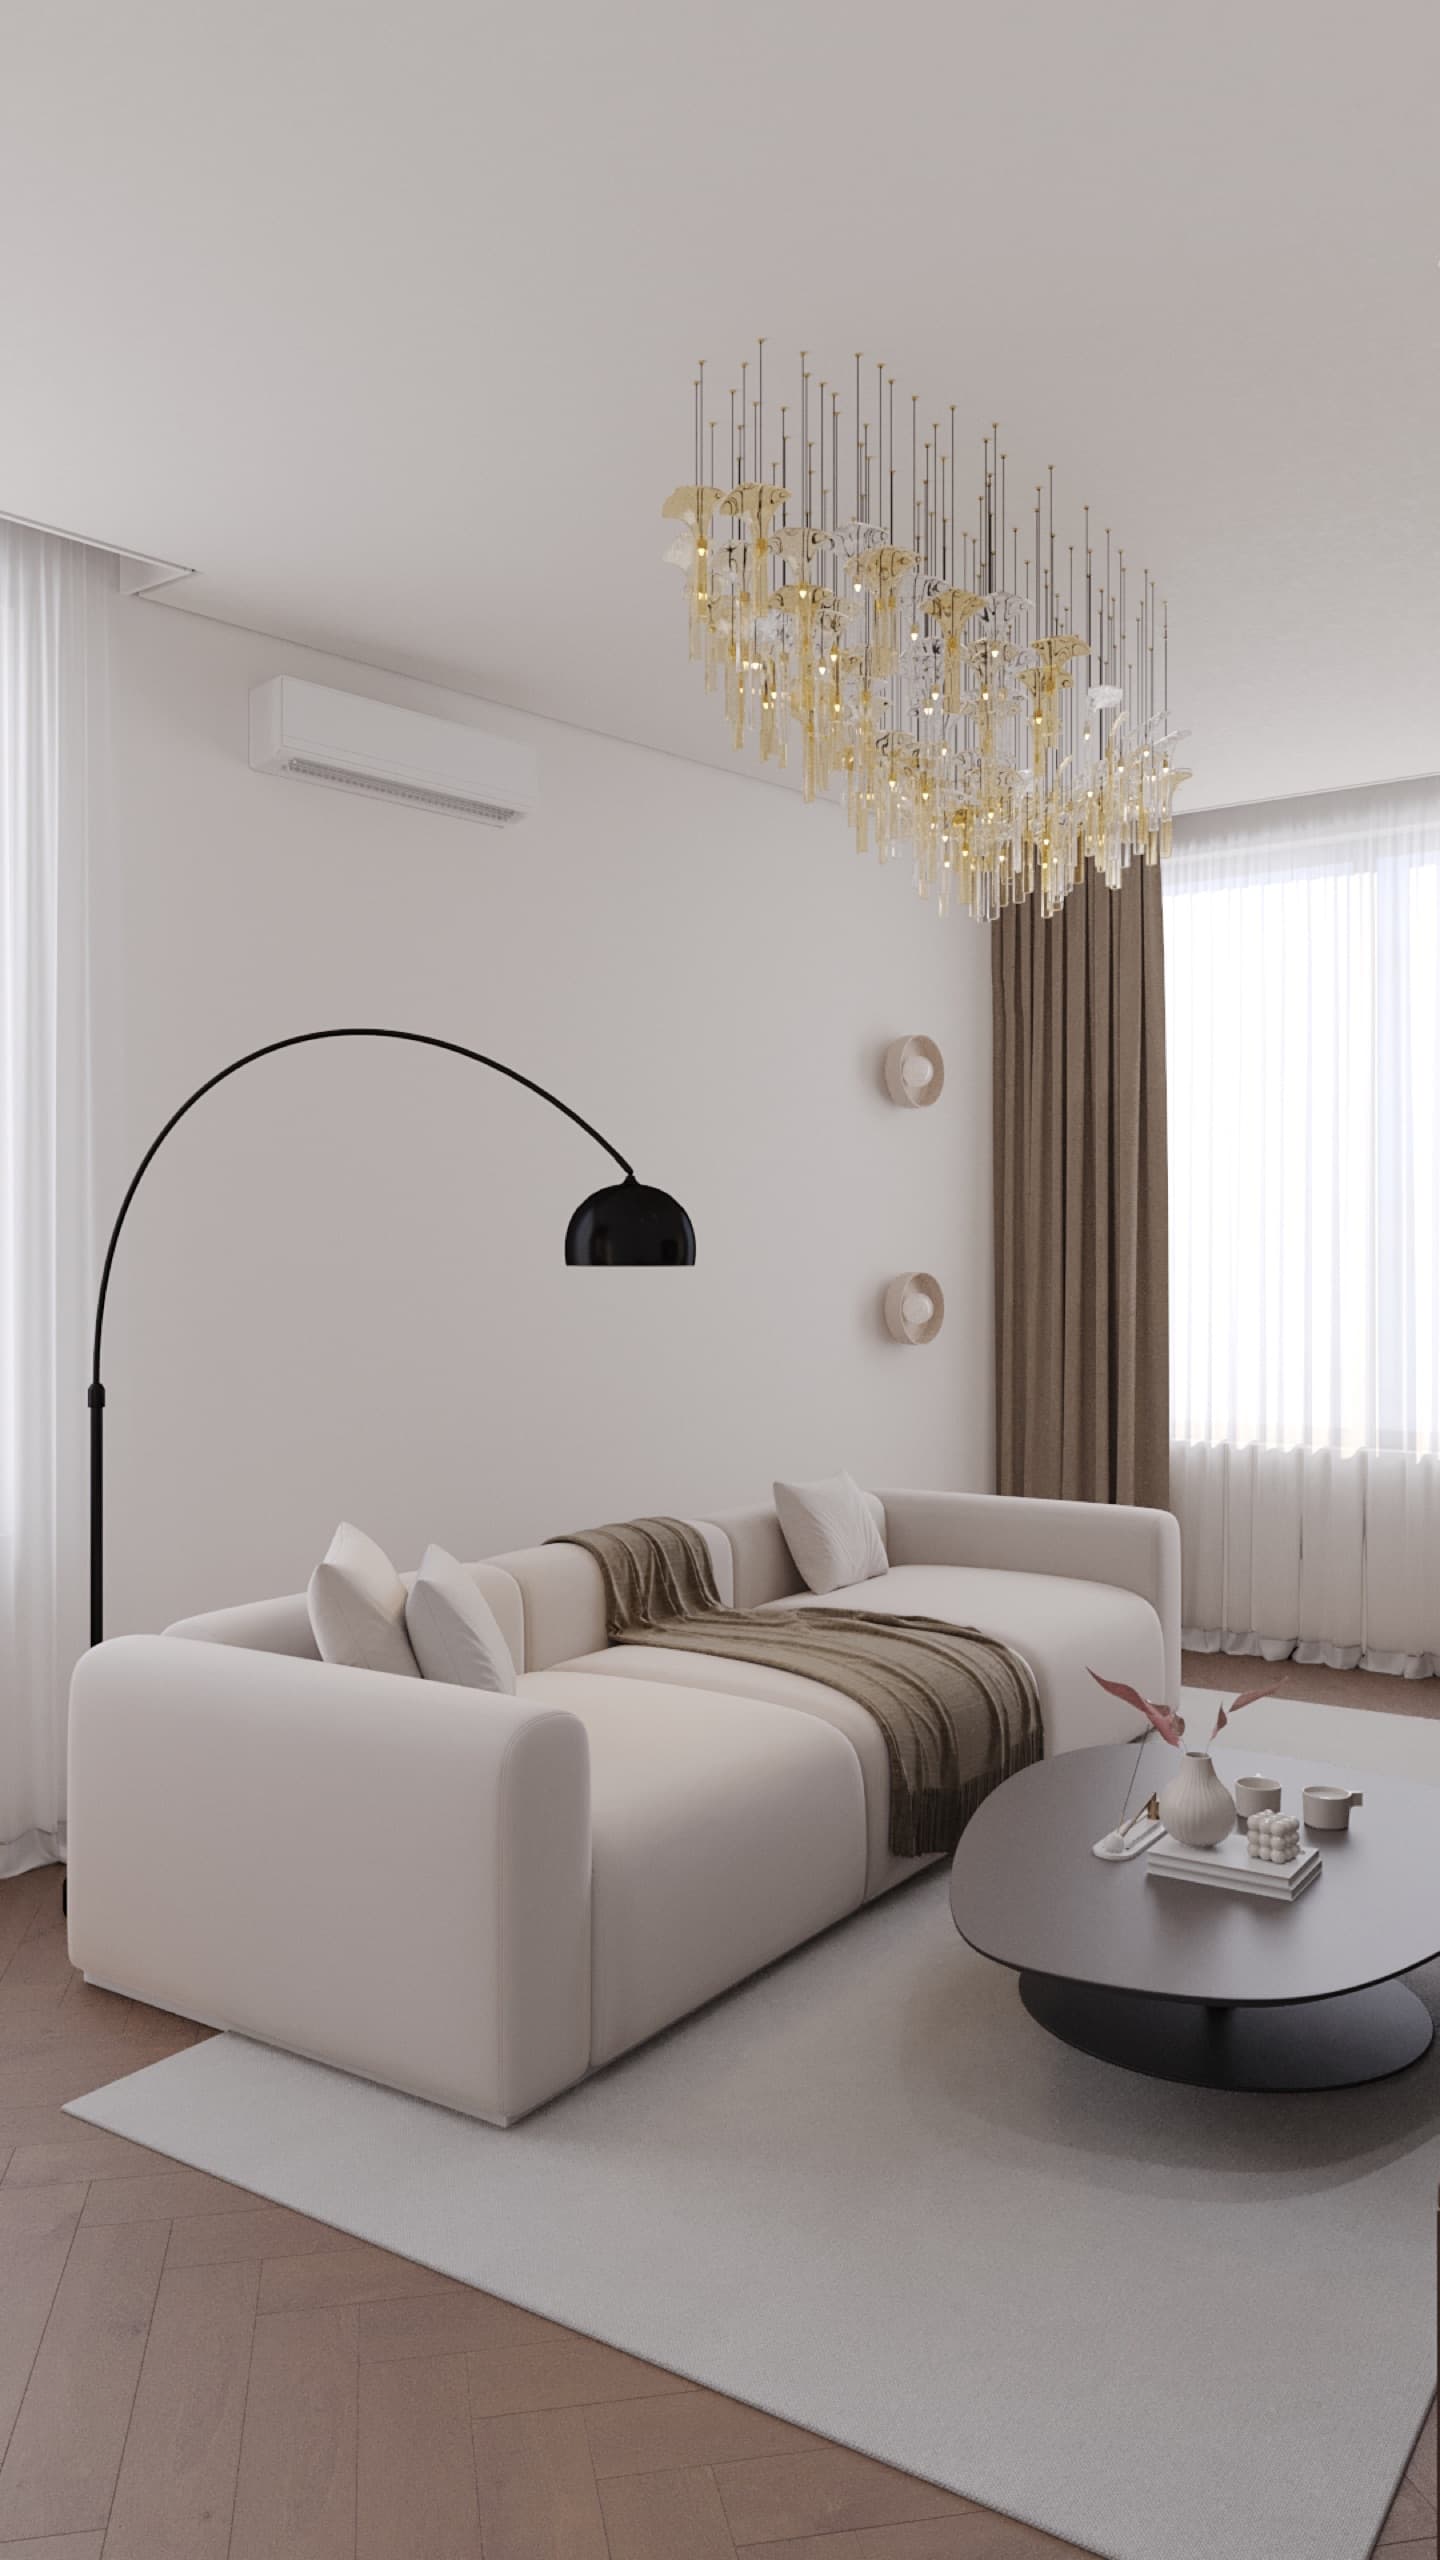
Track systems stopped being “shop lighting” and moved into apartments. In our Besagash project (67 m², Almaty) track lights and cove lighting work instead of chandeliers, and the living room runs on lighting scenes. The reason is flexibility: fixtures slide, rotate, get added and swapped without a single chase. Hang a picture and turn a spot toward it; move the sofa and move the light.
But flexibility has a price: a track can easily turn into chaos. Here are the types of systems, how to choose fixtures and how to plan lines so the light is beautiful and the ceiling stays calm.
Types of systems
A classic track (busbar) is a rail with conductive strips onto which fixtures clip at any point. It comes single-circuit or three-circuit: three-circuit lets you split fixtures into independent groups switched separately. Such systems often run on mains, with power fed to fixtures through the track itself. Installing the track and connecting it to the mains should be done by a qualified electrician.
Magnetic busbars are the current standard for residential interiors. Fixtures hold by magnet and are repositioned by hand in a second. The wiring is low-voltage, most often 48 V (sometimes 24 V): a 230 V power supply sits at the end of the line or in a hidden place, and the track itself is safe to touch. The profile is thin, so in a recessed niche it reads as a black graphic line — a recognisable device in modern interiors. These systems are designed for indoor use in a normal temperature range.
Surface or recessed
A surface track mounts on a finished ceiling: the only “after renovation” option when the ceiling is already finished. It is visible, so the colour and shape of the rail become part of the interior: black, white or brass, chosen to match hardware and windows. The downside is that the line is always visible.
A recessed track sits flush with the ceiling and needs a niche in the drywall or a special profile. The effect is cleaner: the ceiling looks smooth and light seems to come from nowhere. But it must be planned in advance, before the ceiling is finished. Moving the rail once the niche is plastered and painted is hard. So if you choose recessed track, the line positions must be in the lighting plan of the working project.
Which fixtures to put on the track
Spots with a narrow or medium beam suit accents. Manufacturers’ magnetic-system catalogues include spots with beams of about 15–50°: the narrower the angle, the more defined the pool of light and the better it highlights a picture or textured wall. Wide diffused light is for general illumination. Linear modules give a soft line of light, pendants an accent over a table.
Pay attention to colour quality. The colour rendering index (CRI) shows how natural colours look: for living rooms look for values from 90, and many magnetic fixtures state this in their data sheets. Choose colour temperature for the room: soft warm white in the living room and bedroom, neutral in the kitchen and work zone. That is a guide, not a rule, and with dimmable light you can tune the colour.
Anti-glare matters too. A deeply recessed source in a cylinder or with a grille does not dazzle when you look along the room, while a bare LED does. Check fixtures in person rather than from a picture.
Planning rules
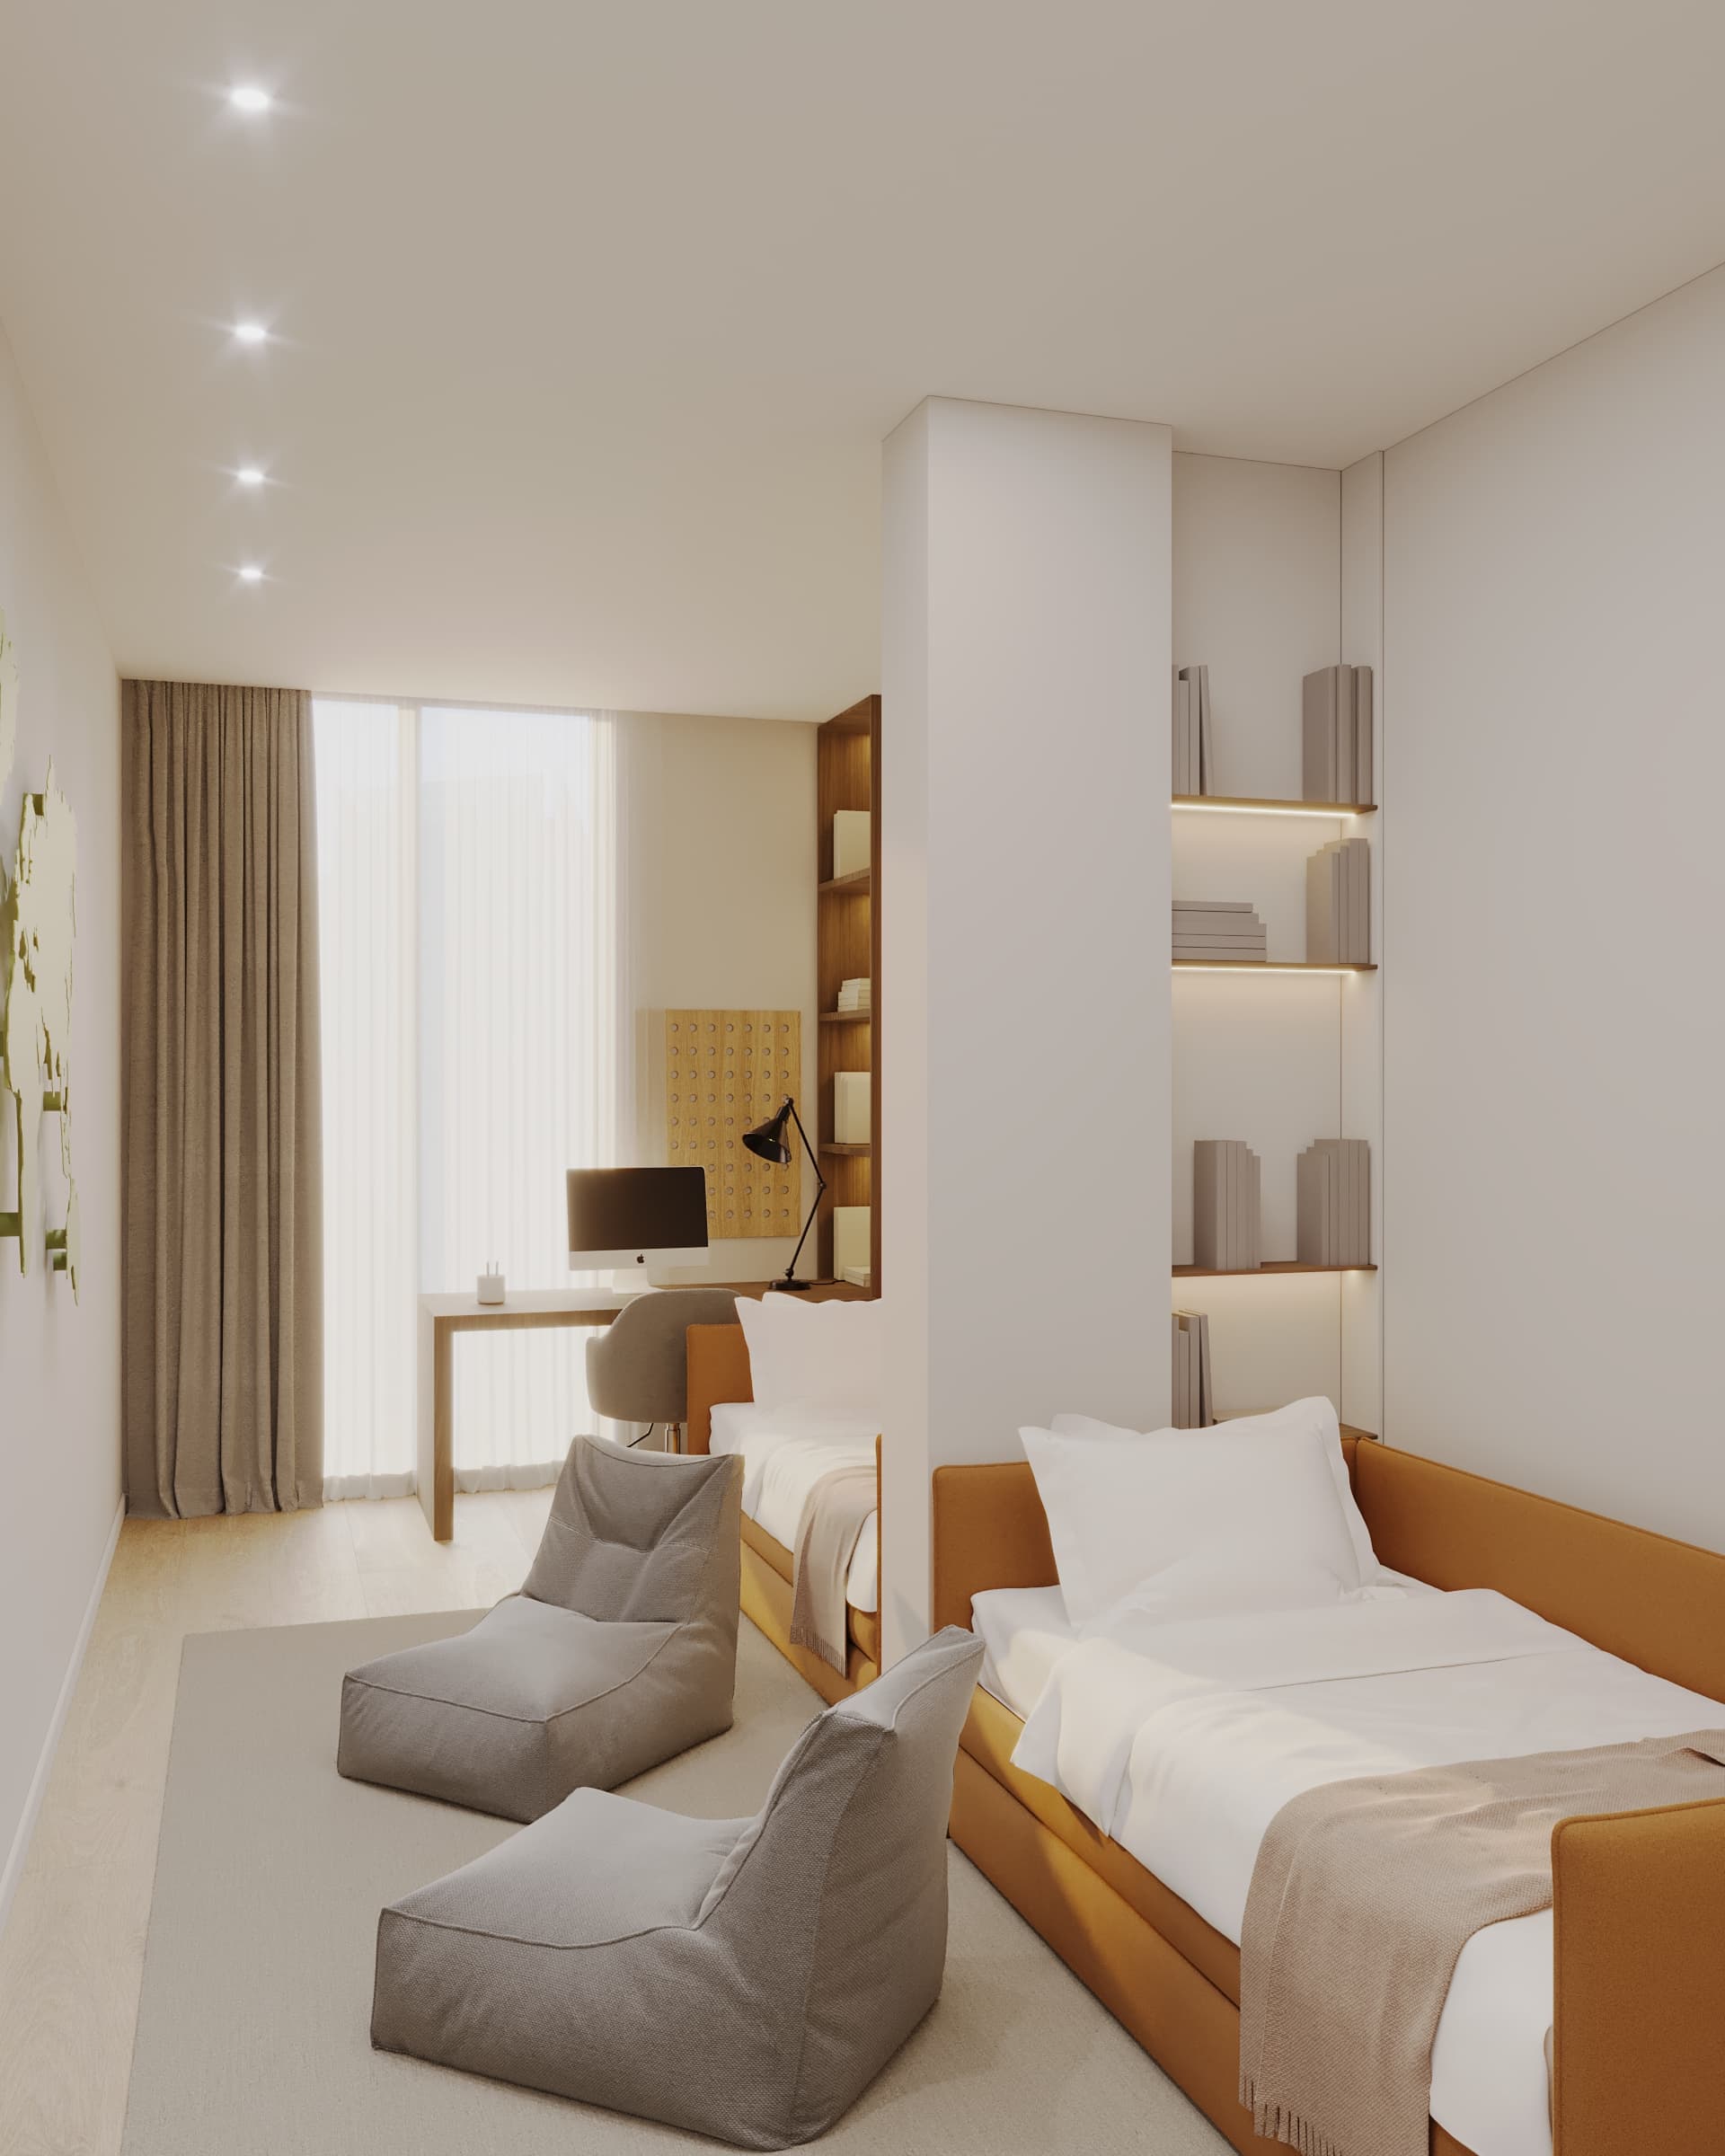
Track is task and accent light, not general light. The line follows the zones to be lit: kitchen worktop, dining table, art wall, desk. The studio’s practice is an offset of 30–60 cm from the wall, so light falls at an angle rather than on top of the head and does not leave scallops (light arcs) on the wall. To light a picture, tilt the fixture so it does not create glare on the glass.
Do not turn the ceiling into a station: one or two lines per room, complemented by cove light and local fixtures (wall lights, floor lamp, shelf lighting). Mixing systems is fine, but each needs its own task. A big plus of track is the ability to add fixtures later, so do not fill the rail to capacity at the start.
Split fixtures into switching groups: general, accent, cove. Dimming by group turns the same ceiling into an evening and a daytime scene. All lines, groups and connection points must appear in the lighting plan and control scheme, which are separate sheets of the studio’s working project.
Typical mistakes
Using track instead of all the light: a room without side sources looks flat, and faces in the mirror look harsh. Running the line down the middle of the ceiling and expecting it to light the walls. Forgetting the power supply and where it goes: it needs ventilation and access. Buying cheap fixtures that flicker on a dimmer: compatibility of driver, dimmer and fixtures must be checked.
And last: furniture first, light second. Track is tied to zones, not to the ceiling. If the layout is undecided, the rail ends up in the wrong place, and a recessed system can no longer be moved.
How it fits into a project
The lighting plan and control scheme are part of the studio’s working project: 14 drawing sheets, from 3,300 ₸/m² (100,000 ₸ for spaces up to 40 m²). The design project adds 3D visualisation and an online shopping list where we choose specific fixture models. During supervision we can help source lighting, including from China.
If you want to think through lighting for your flat, fill in the brief or message us on WhatsApp. For a renovation budget guide there is a calculator on the site.