August 1, 2026
Hidden Lighting: Making "Floating" Light Without Regrets
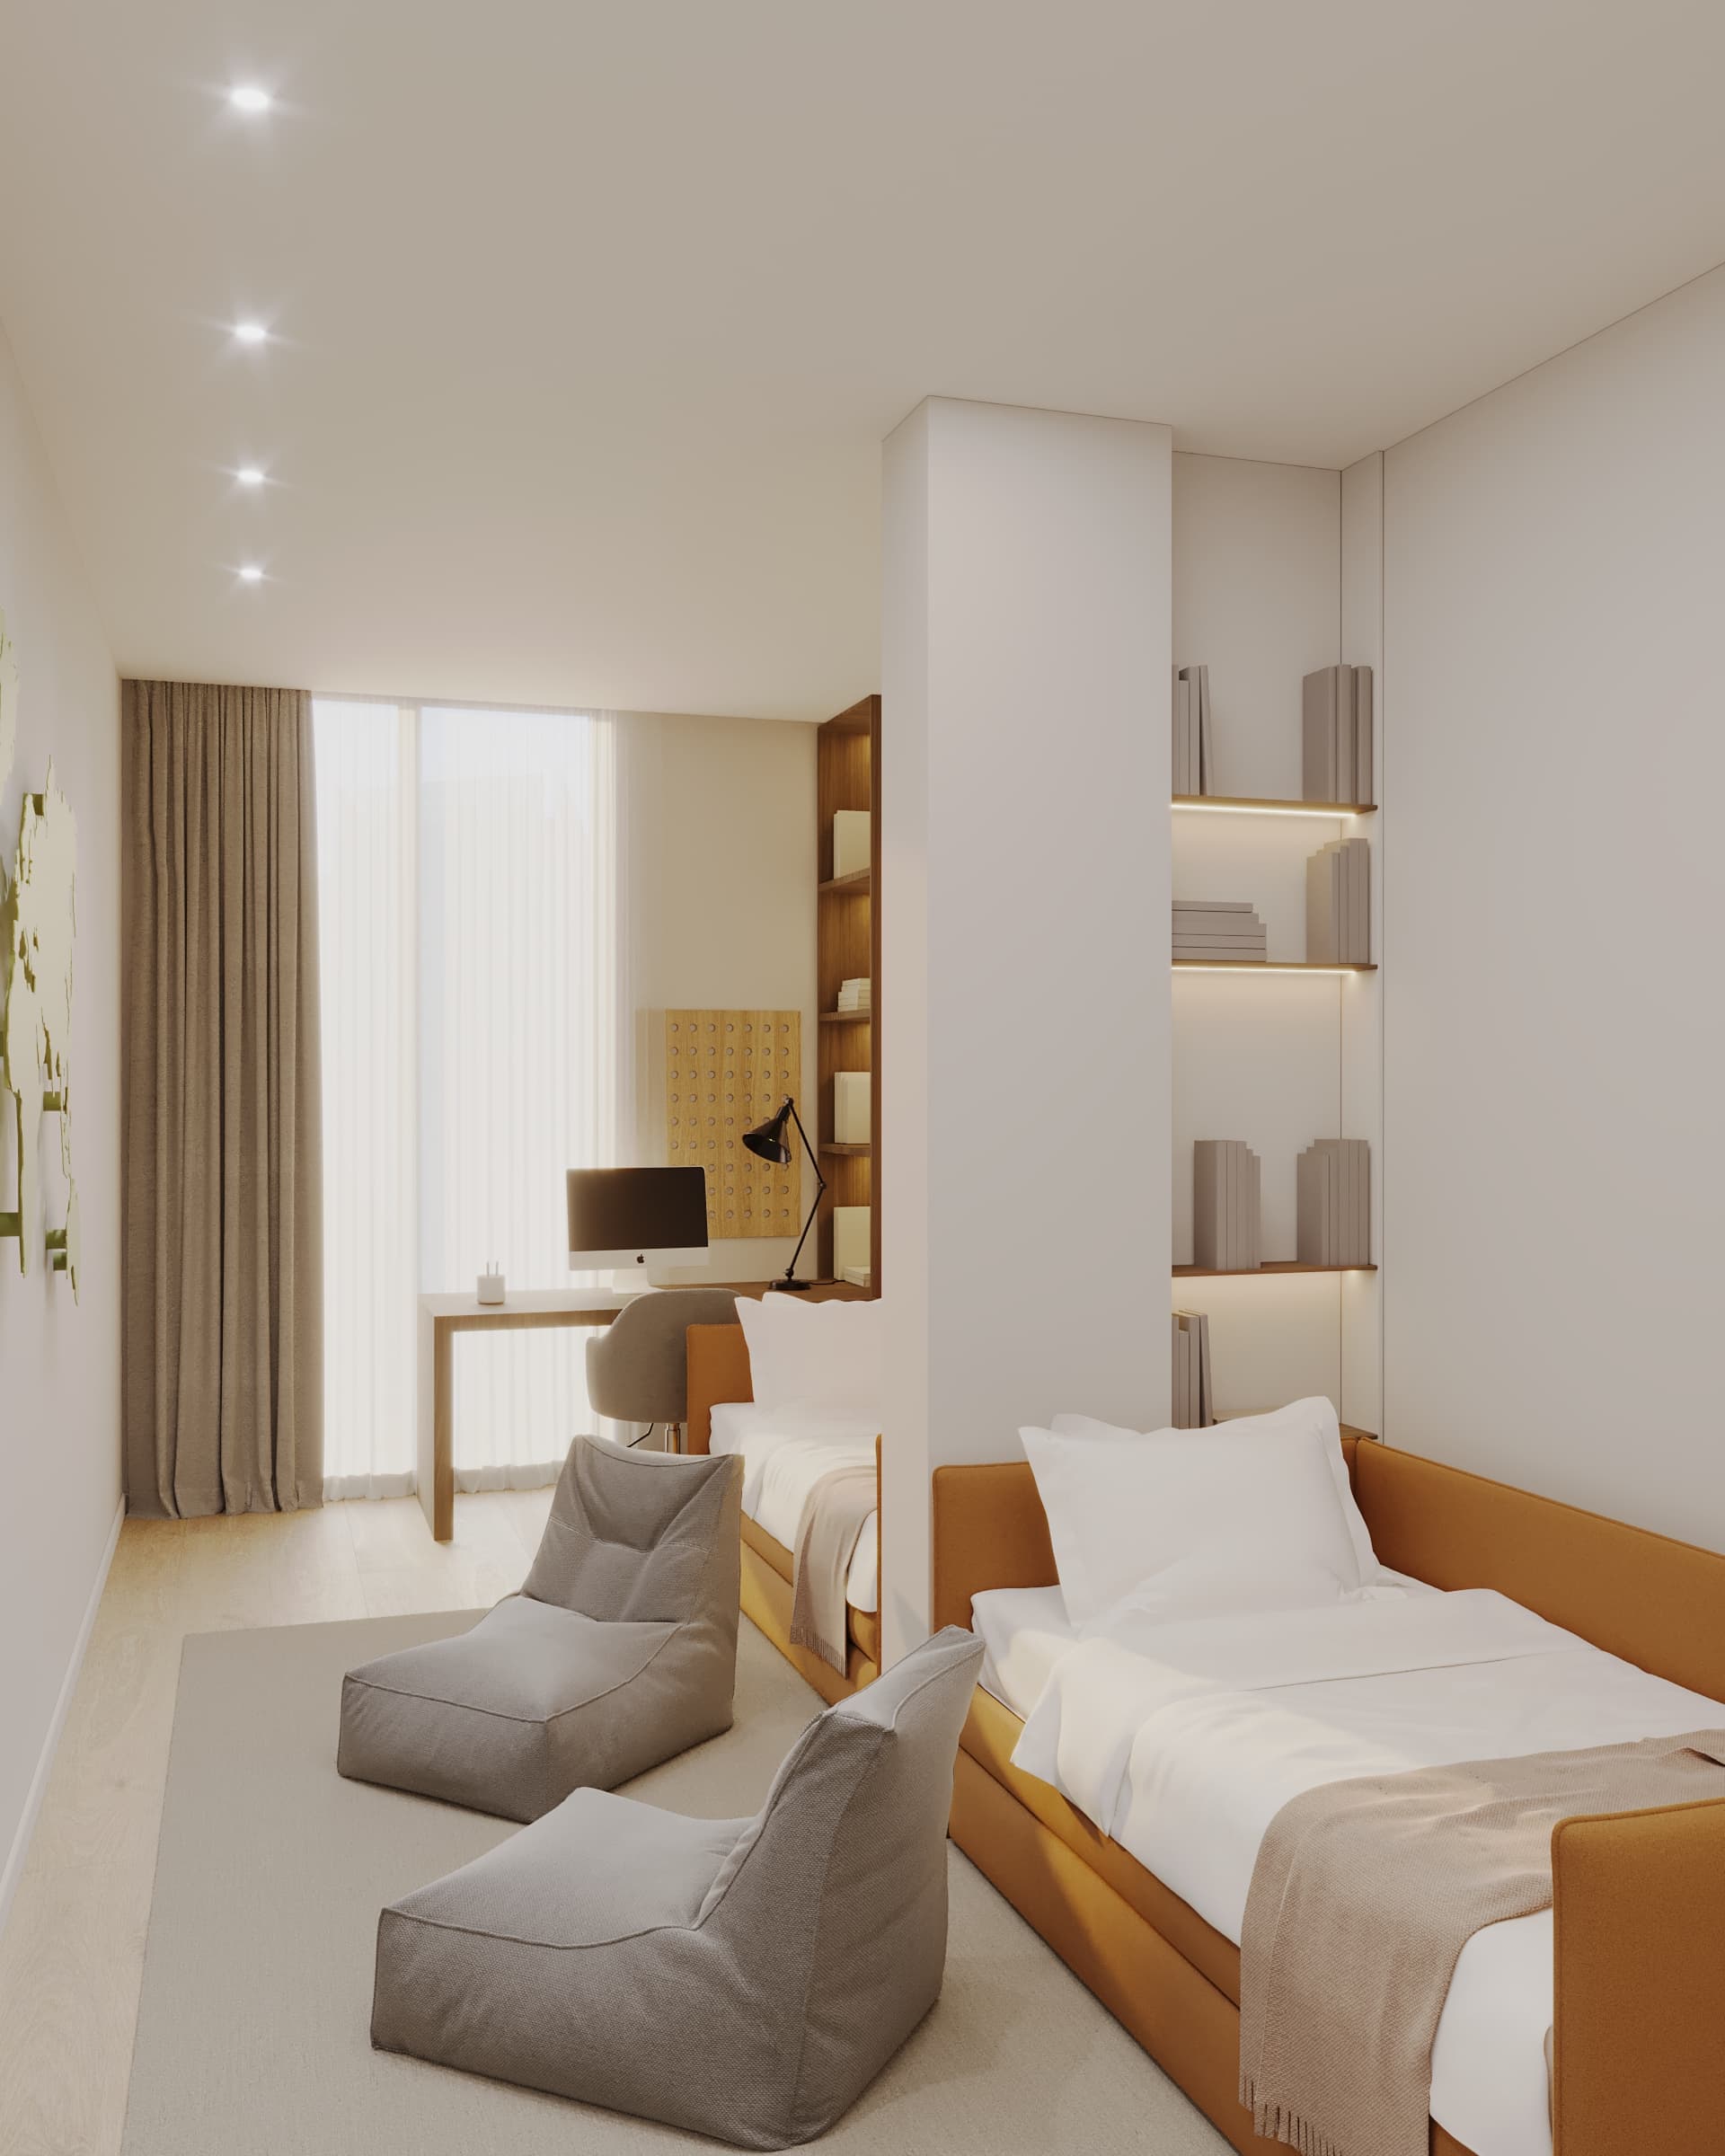
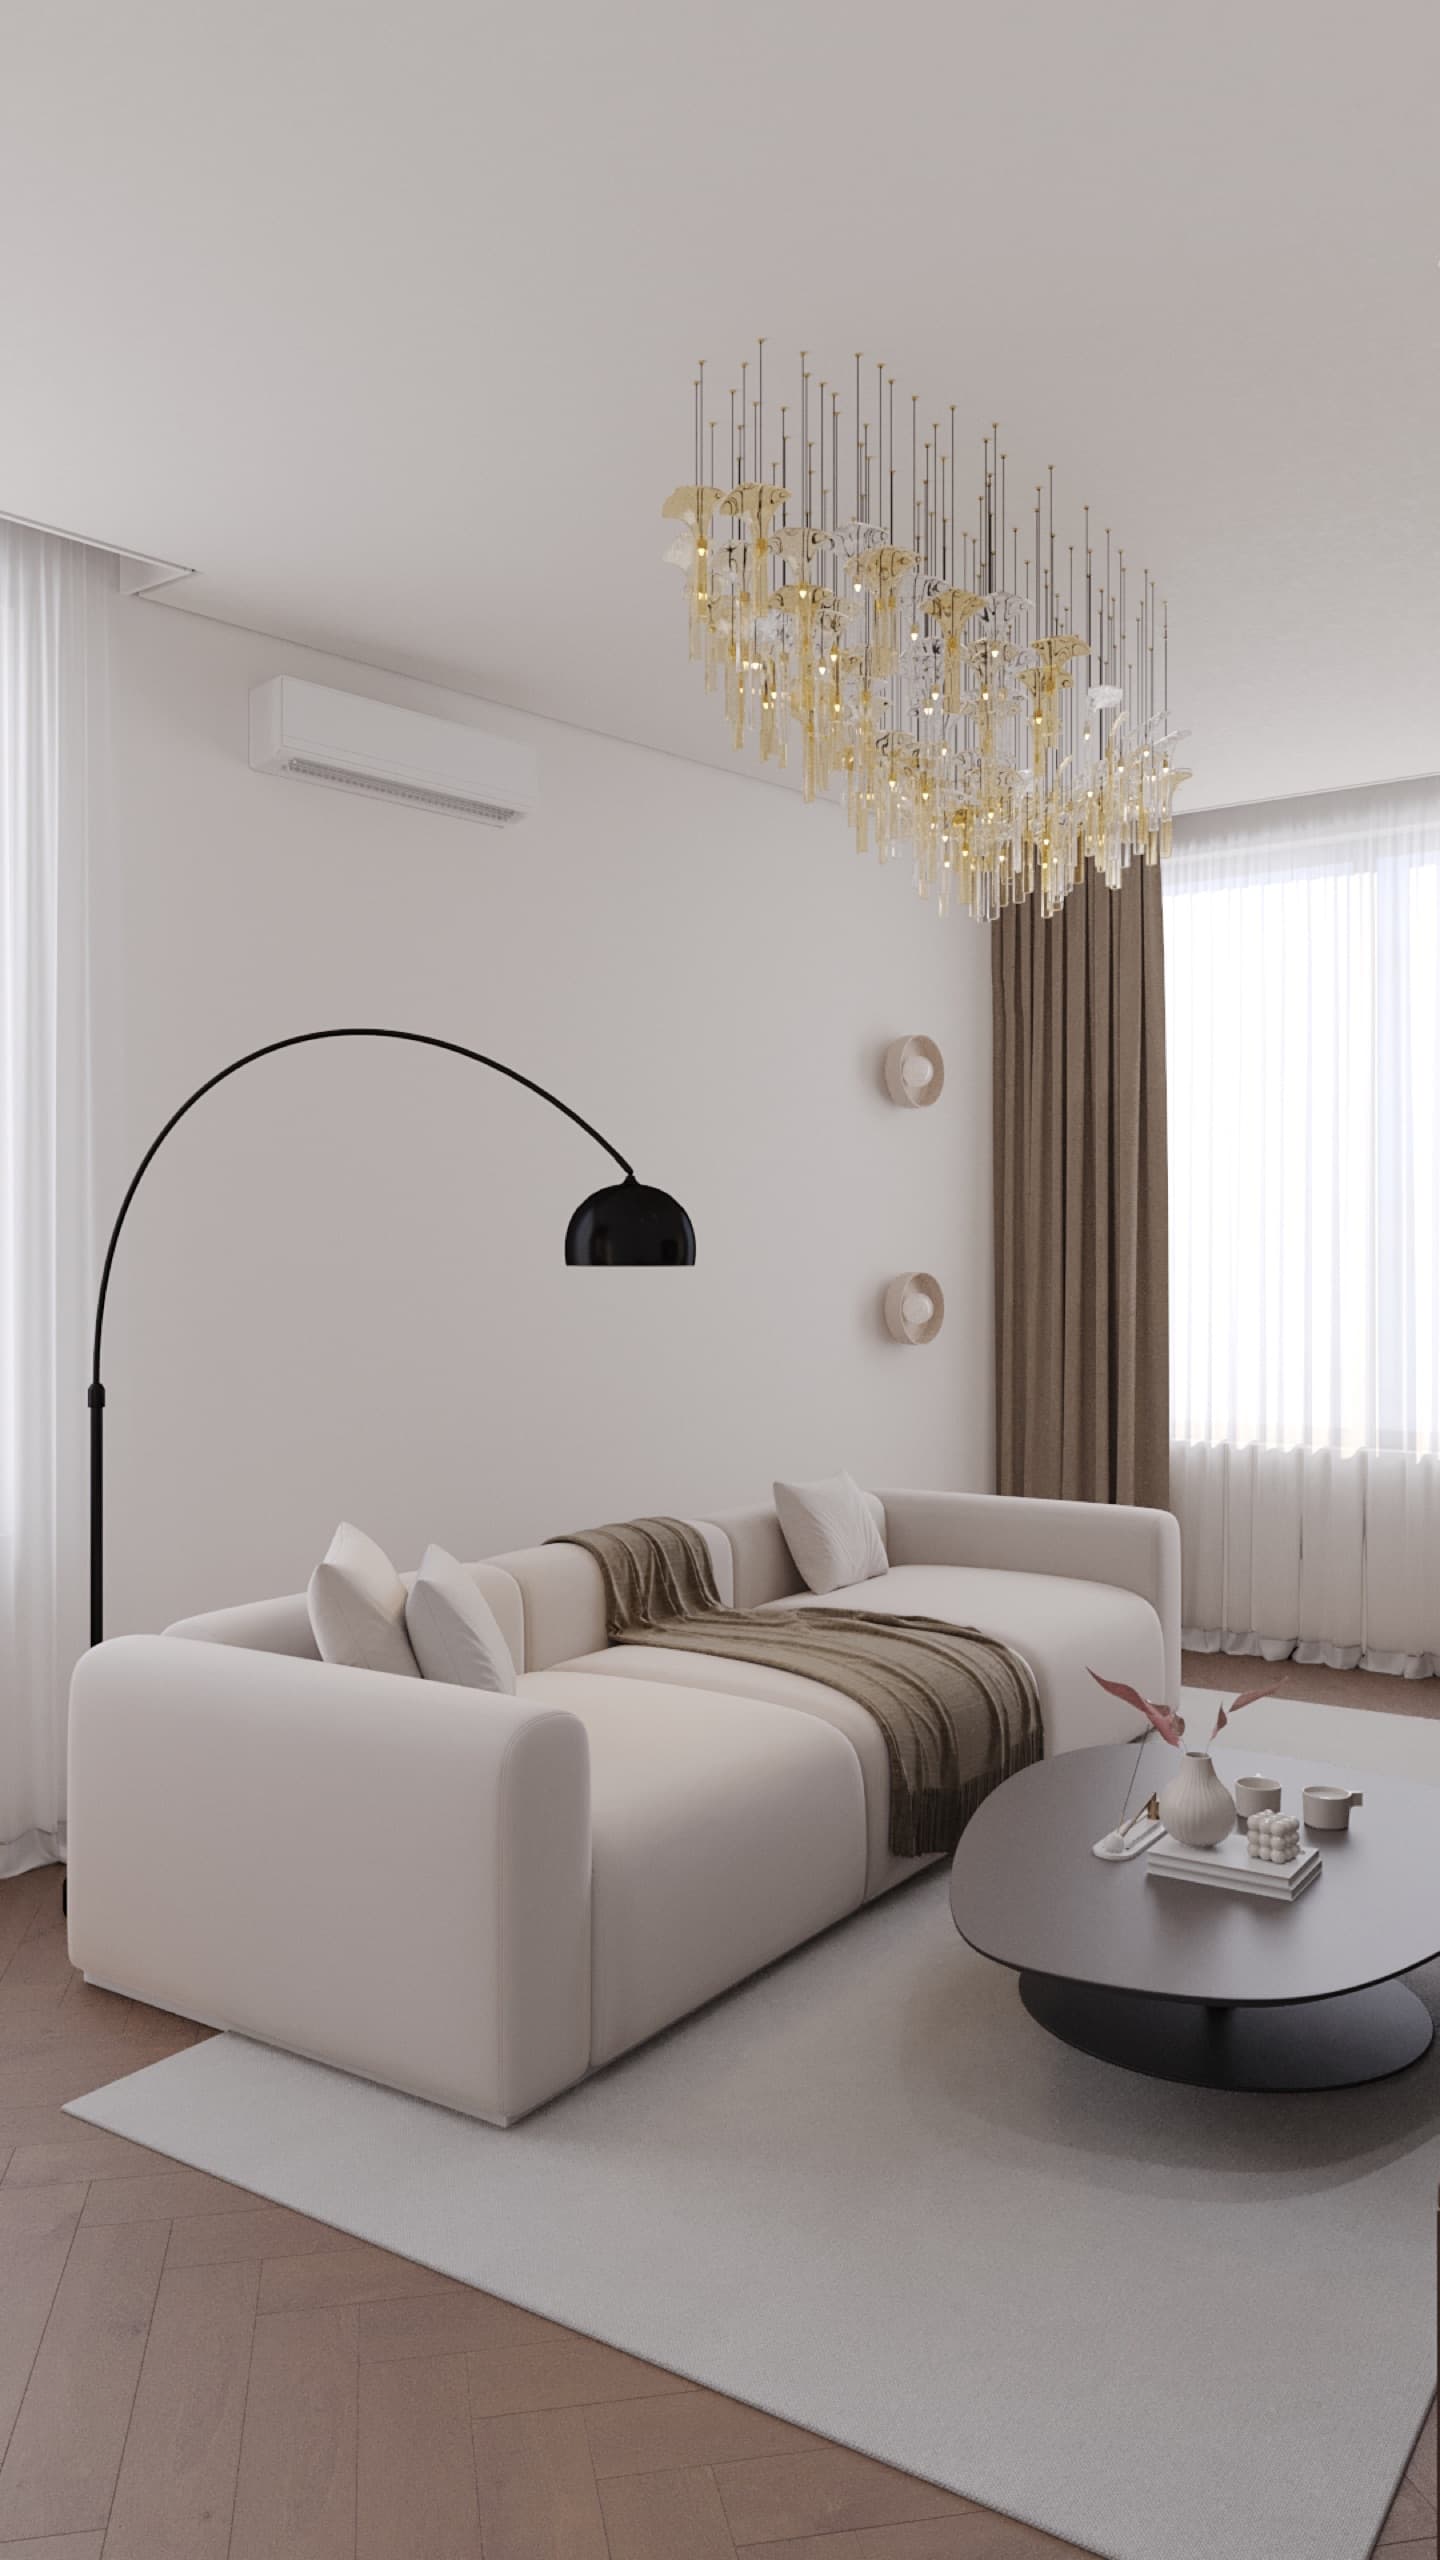
Hidden lighting is light whose source you cannot see: ceiling coves, niches, a glow behind furniture or inside shelves. It creates the "evening" mood in which an apartment looks noticeably more expensive and your eyes get a rest from bright overhead light.
In our projects it is almost always a mandatory layer. In the Mereke apartment it lights niches and lines in the living room and vertical LED lines in the bathroom niches; in Besagash, tracks and concealed lighting replace chandeliers; in Arena City Life, warm linear light defines the dining area. But the technique matters, and the pretty pictures do not mention it. Get it wrong and within a year you will see LED dots, patches and darkened sections instead of a soft glow.
Why hidden lighting matters
Good home lighting is built in layers: general light, task light where you cook or read, and accent or ambient light. Hidden lighting usually covers the third layer. It does not replace the main light; it complements it.
In practice it gives you soft, diffused evening light without glare or harsh shadows; a visually higher ceiling thanks to the lit surface; emphasised texture on walls, panels and slats; night light in the corridor and bedroom without switching on the main fixture; and task light on the kitchen worktop without your own head casting a shadow.
Where hidden lighting works best
A perimeter ceiling cove. The soft glow lifts the ceiling and adds volume. It is the main evening scene in living rooms and bedrooms.
A floating ceiling or wall. A strip in the gap between surfaces creates a detached effect, as if the ceiling or panel does not touch the wall. It works well in corridors and above the bed.
Niches and shelves. A lit niche becomes a display, and open shelves with books and objects become part of the interior. In bathrooms this is how towel and toiletry niches are lit.
Furniture. Light under upper kitchen cabinets is task lighting, not decoration. It also goes behind headboards, under wall-hung bathroom vanities and inside wardrobes, switching on when the door opens.
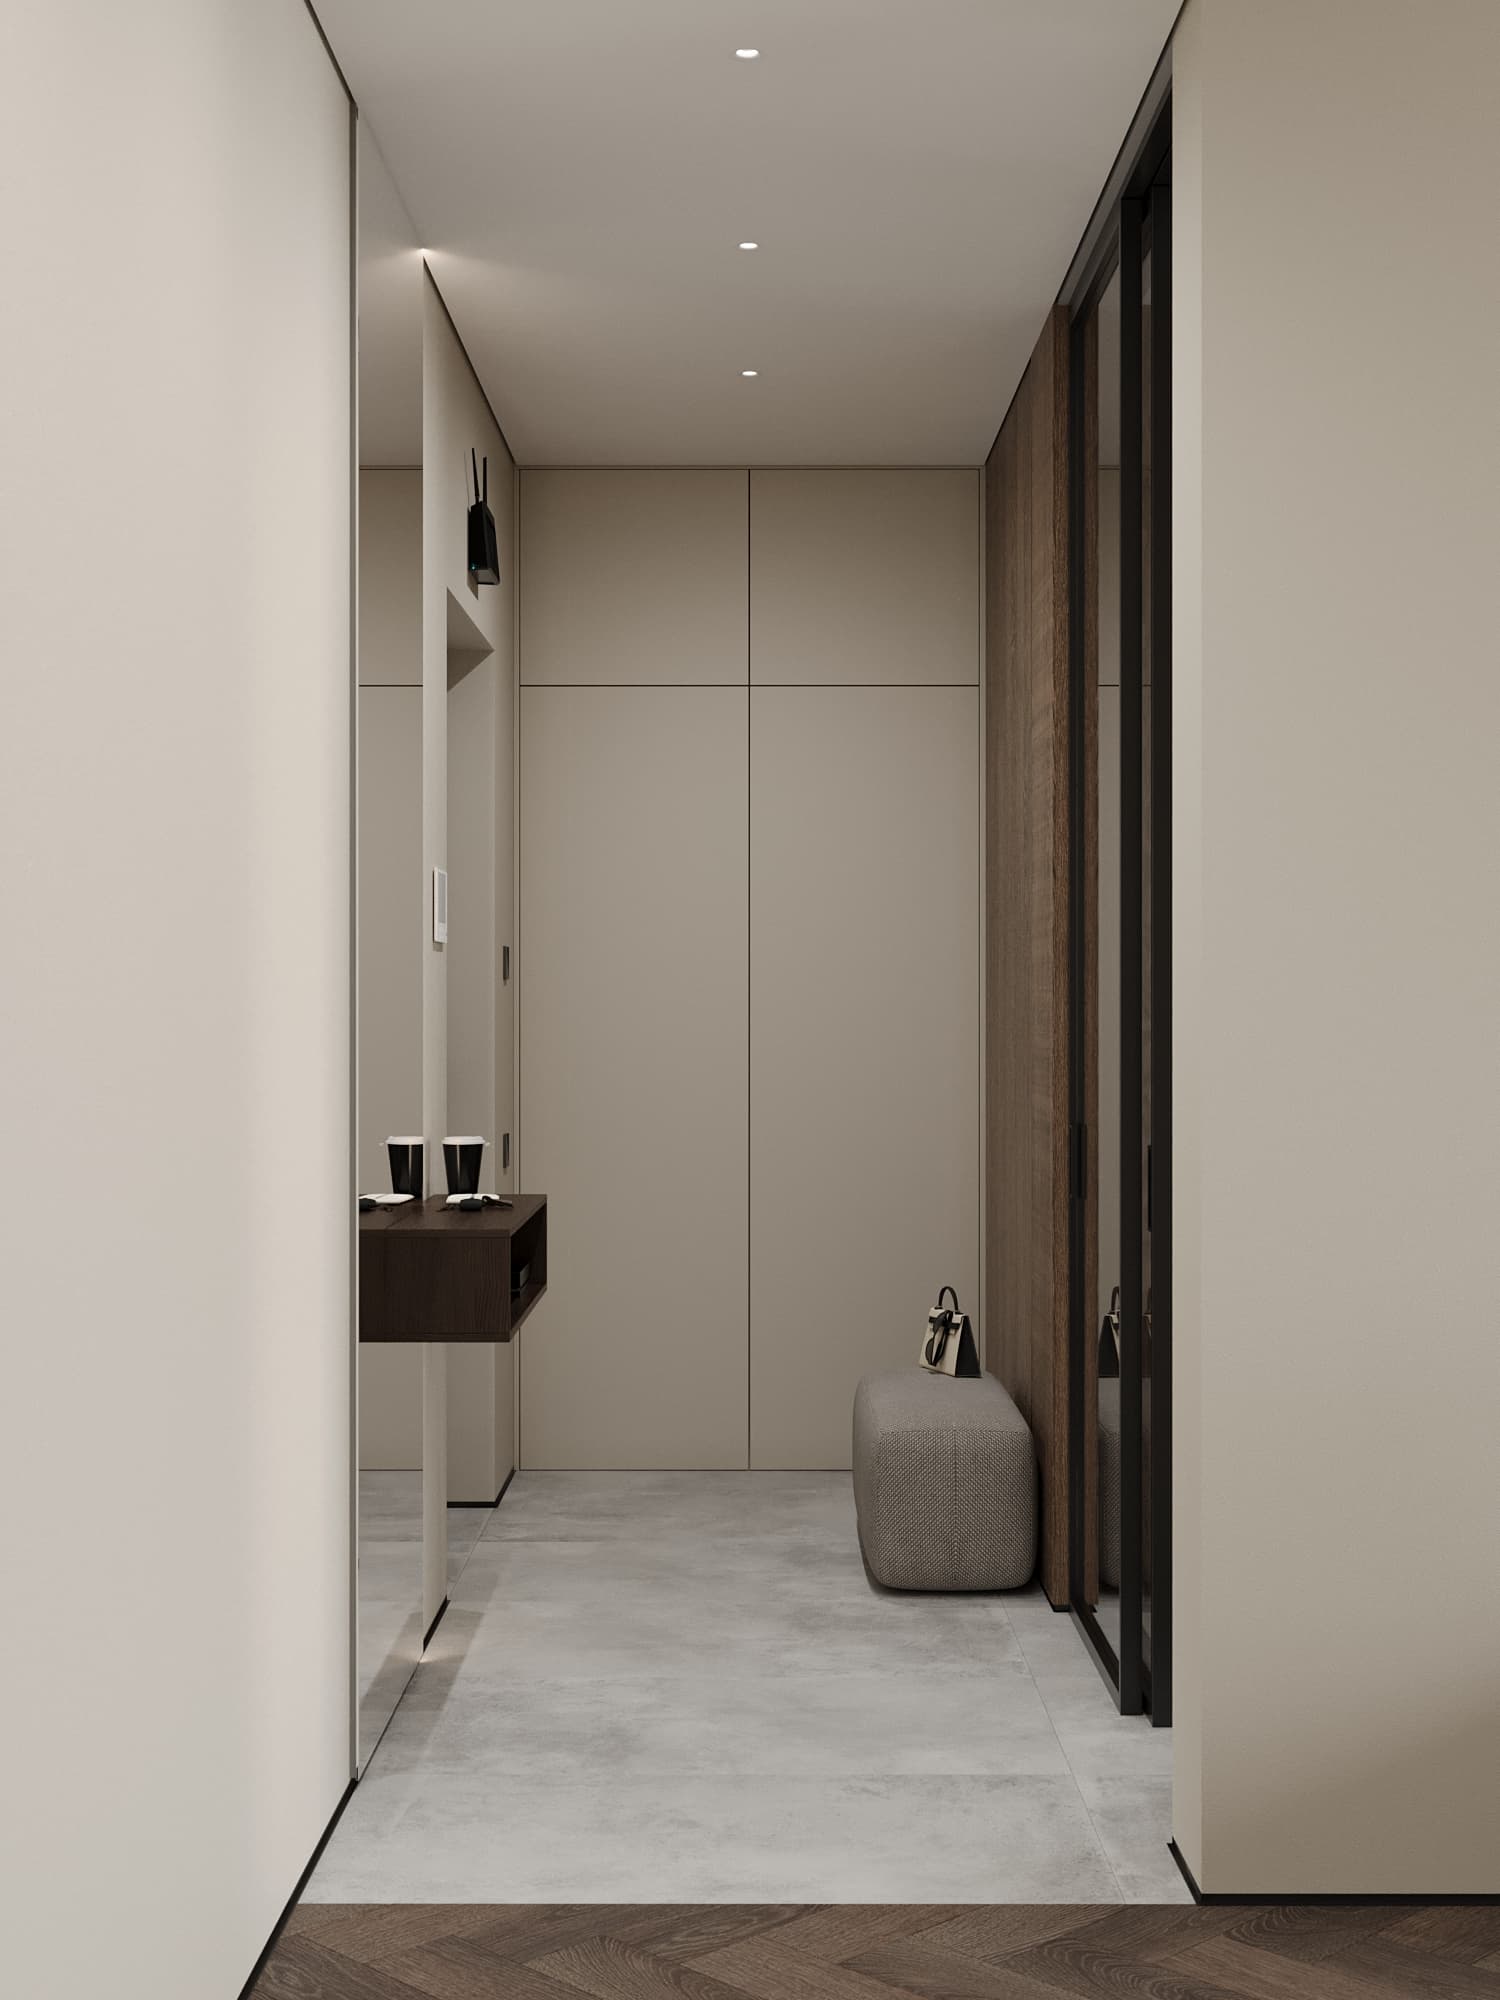
Skirting and stair lighting. Low light in the corridor lets you reach the kitchen or bathroom at night without waking anyone. On stairs it is also safer.
The profile: without it the strip dies early
LED strips heat up. Stuck directly onto plasterboard or wood, the heat has nowhere to go, the diodes degrade faster and the light turns yellow and dim. An aluminium profile acts as a heat sink: it draws heat away and extends the strip's life. Strip manufacturers say this explicitly in their installation guidance.
The profile also gives a straight line. A strip glued to an uneven surface produces a "wave" of light that is especially visible on the ceiling. The profile keeps the line straight and protects the strip from dust and damage.
Profiles can be surface-mounted, recessed into plasterboard or plaster, or corner types. A recessed profile has to be planned at the rough stage: once the finishing skim coat is on, it cannot be added without leaving marks.
Diffusers and strip types: avoiding "dots"
If the strip can be seen — in a shelf at eye level, under a kitchen cabinet, in a bathroom niche — you need a diffuser. A frosted profile cover softens individual points of light, but on a standard SMD strip with wide diode spacing the dots can still show through.
COB strips give a continuous line with no visible dots, even without a deep diffuser. They usually cost more, so use them where the line is seen up close. For a ceiling cove where the strip is out of direct view, a good SMD strip in a profile is usually enough.
Check the colour rendering index (CRI) on the strip's spec sheet. For homes we aim for strips with CRI 90 or higher: under that light wood, fabric and skin look natural, without a grey or greenish cast.
Voltage, run length and the driver
Strips come in 12 V and 24 V. Over a long run the voltage drops and the far end glows dimmer or in a different tone. Manufacturers' guideline: about 5 metres for a standard 12 V strip fed from one end, about 10 metres for 24 V. Check the exact figures on the specific strip's spec sheet. For the perimeter of a large living room, choose 24 V and feed it from both ends or in several sections.
The driver is sized to the total strip power with a reserve. Manufacturers usually recommend at least 10–20%; in our projects we allow around 20–30%, because a driver running at its limit overheats and fails sooner.
The key rule: the driver must stay accessible. It goes into an access hatch, a cabinet or a niche, but is never sealed into the ceiling. Drivers are replaced more often than strips, and without access a replacement means cutting into the finish.
Colour temperature and control
Hidden lighting should match the colour temperature of the main light. At home that is usually a warm 2700–3000 K. Cold bluish light next to warm fixtures looks like a mistake and kills the evening mood. If you want light that changes through the day, there are tunable-white strips, but they must be planned into the control scheme from the start.
Hidden lighting should almost always be dimmable. Without a dimmer it is either too bright in the evening or pointless during the day. The dimmer must be compatible with the driver, which is another reason to choose them together.
Plan where each line is switched from. Corridor lighting works well on a motion sensor, kitchen lighting on a separate switch by the worktop, and the living room cove from switches at the door and by the sofa. All of this is part of the lighting control scheme in the working project.
Niche and cove dimensions
For cove light to spread smoothly across the ceiling without a harsh band, the strip needs distance from the ceiling. Smart lighting manufacturers suggest roughly 10–15 cm between the strip and the ceiling surface. If the cove is too shallow, you get a bright stripe right at the edge.
Flatness matters too. A grazed surface reveals every flaw in the plaster, because light running along it highlights each wave. That is why walls and ceilings under hidden lighting need especially careful preparation.
We specify the dimensions of every niche, the profile type, its position and the power feed points in the ceiling plan and lighting plan of the working project. Builders then know in advance where to leave a cable and where to put an access hatch.
Lighting in the bathroom
Bathrooms have an extra rule: moisture protection. A standard open strip is rated IP20 and suits only dry rooms. For niches and the area around the basin, a strip in a closed profile with end caps is typically used, roughly IP44. Above the bath and in the shower zone, a waterproof strip is used, usually IP65 or higher.
The driver never goes inside the bathroom: it is placed in a dry adjacent room or cabinet. Confirm the exact zone and protection requirements with your electrician and current regulations.
Common mistakes
A strip without a profile glued straight onto plasterboard; visible dots on shelves and under cabinets; hidden lighting in a different colour temperature from the main light; a driver sealed into the ceiling; a long 12 V run with a dim far end; no dimmer; a shallow cove that throws a harsh stripe on the ceiling; lighting added after the skim coat, when there is no way to run a cable.
Nearly all of these happen when lighting is decided "as the renovation goes". They are easy to avoid if lines, niches and switches are drawn in advance.
The bottom line
Hidden lighting is an affordable way to make an interior softer and more expensive-looking, but only with the right technique: an aluminium profile, a diffuser or COB strip where it is visible, the right voltage, a driver with reserve capacity and access, warm light and a dimmer.
In our working project the lighting plan and control scheme are part of the base package, so hidden lighting is planned before the renovation begins. If you are planning a renovation, fill in the project brief or message us on WhatsApp, and we will suggest where concealed light will work in your apartment.