August 26, 2026
How to Read Interior Design Drawings: a Client's Guide
When you approve a project, you approve not just the beautiful renders but the drawings. Builders, electricians, tilers and furniture makers will work from them. Yet nobody teaches clients to read drawings, so they get signed on trust and problems surface on site, when fixing them is expensive.
This guide walks through the sheets of a working design package in plain words: what each one shows, what to look at and which mistakes to catch. We use our own package as the example — the studio's working project includes 14 sheets, from the measured survey to 3D views.
The basics: dimensions, lines, symbols
Dimensions on construction drawings are given in millimetres, without units. If a wall says 3450, it is 3 metres 45 centimetres. The number shows the real length regardless of the scale, so do not measure the printout with a ruler — read the numbers.
Thick lines are what the section cuts through: walls and partitions. Thin lines are what is visible beyond: furniture, fixtures, openings. Dashed lines usually mean something above or hidden: top cabinets, wall units, a ceiling outline. Each sheet has a title block with the sheet name and a legend — if a symbol is unclear, look there.
Heights are measured from the finished floor level: a mark of 900 next to a switch means 90 cm from the finished floor, not from the concrete. This matters because screed and flooring add several centimetres.
Measured survey and demolition plan
The measured survey shows the apartment as it is after measuring: real room sizes, wall thickness, ceiling height, positions of windows, risers, ventilation shafts and radiators. Nothing is invented here; it is the foundation for every other sheet.
What to check: does it match what you see in the apartment, especially windows, doors and risers. If there is a niche or a protrusion in the apartment that is missing from the plan, say so immediately.
The demolition plan shows what will be removed: partitions, door frames, old boxing. Usually it is hatched or dashed. Remember that load-bearing walls and ventilation ducts cannot be touched, and a redevelopment generally needs approval — check the procedure with the public service centre (TsON) or the akimat before work starts.
Partition plan and masonry plan
The partition plan shows new walls: where they go, what they are made of (aerated block, brick, plasterboard) and how thick they are. The masonry plan details the same for builders: tie-ins to existing walls, opening sizes, lintel heights.
What to check: door opening sizes. If you want taller-than-standard doors or flush doors up to the ceiling, it must be visible here. Later the opening cannot be changed without noise and dust.
Layout and door swing plan
The layout is the key sheet: a top view with all the furniture. The furniture is drawn to real size, so you can check whether the sofa fits, whether a table for six fits, whether there is room around the bed.
How to check: mentally walk your morning route from the bed to the bathroom, the kitchen and the front door. Do you have to walk around a table corner or squeeze between a wardrobe and the bed? Mentally open every door: the hinged wardrobe, the dishwasher, the oven. An open door should not block the passage.
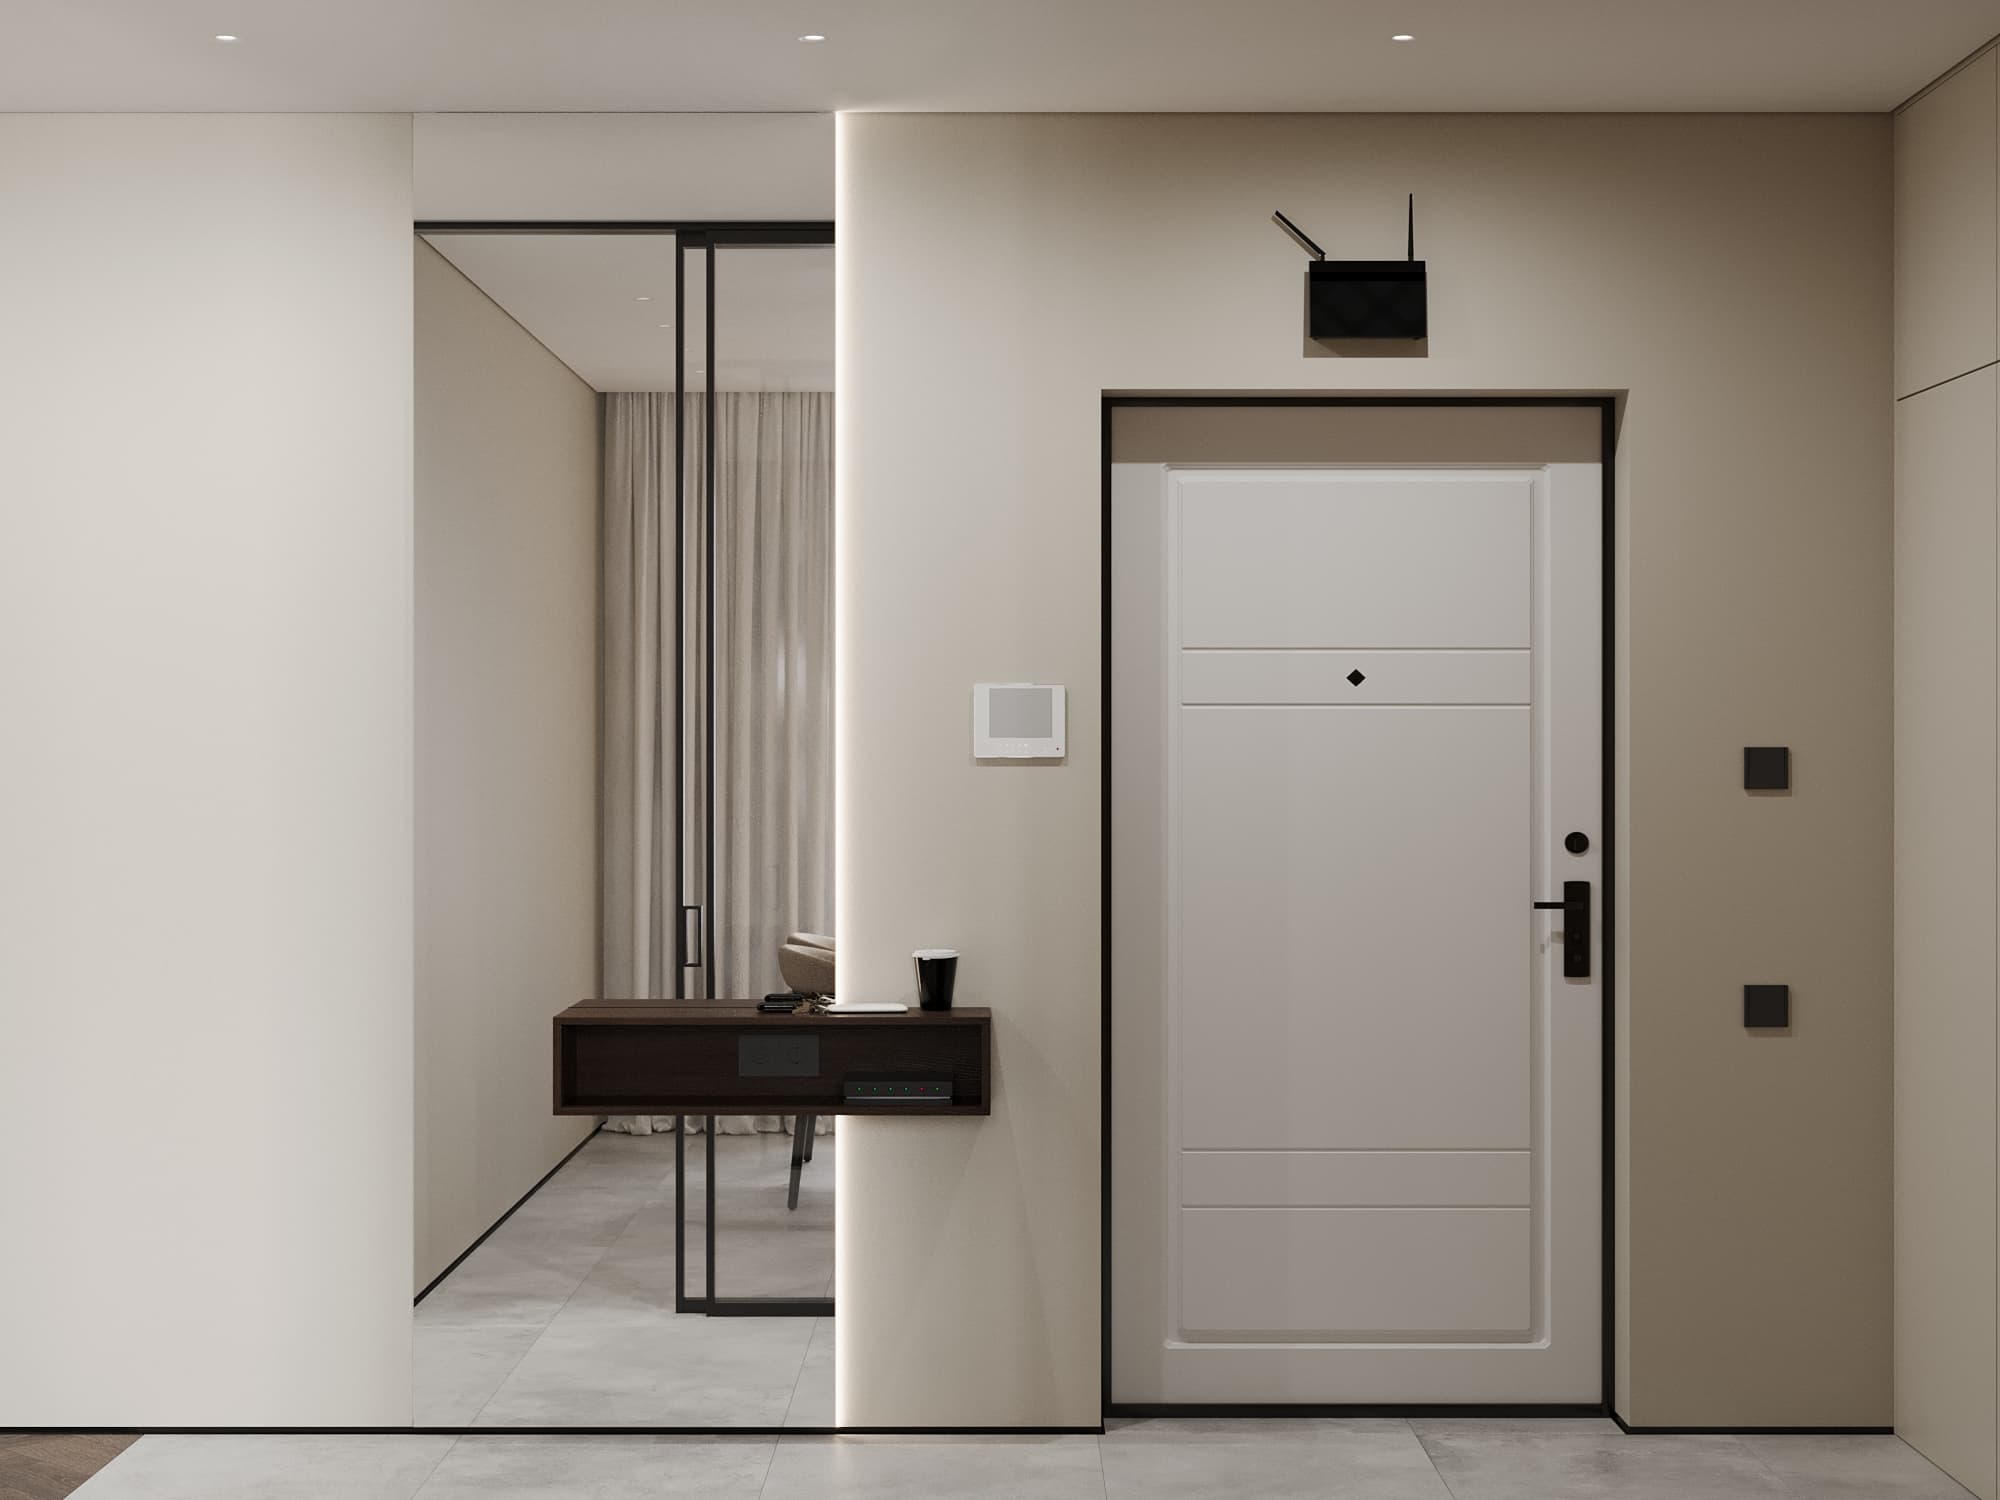
The door swing plan shows which way each door opens. A common mistake is a door that hits a light switch or hides it when open. The switch should be on the handle side, not behind the leaf.
Floor and ceiling plans
The floor plan shows finishes by room (tile, parquet, LVT), laying direction, transitions between materials and thresholds. Underfloor heating zones are marked here too. Check where the tile-to-parquet joint falls — it is usually hidden under the door leaf. And make sure underfloor heating is not planned under built-in furniture or the bathtub, where it is useless.
The ceiling and curtain plan shows ceiling levels, bulkheads, curtain recesses and tracks. The numbers are heights from the finished floor. If the bedroom says 2600 and your ceiling is now 2800, 20 cm go into a bulkhead — find out why: ventilation, a track or a hidden curtain rail.
Plumbing, electrics and lighting
The plumbing plan shows water and drain outlets with heights: mixer, toilet, washing machine, dishwasher, filter. Check that all your appliances are there and nothing is forgotten — for example, a water line for a fridge with an ice maker.
The electrical plan covers sockets, appliance outlets and switches with heights. As a guide, in living rooms sockets are often placed about 30 cm from the floor and switches about 90 cm; in the bathroom sockets go no lower than 60 cm from the floor and no closer than 60 cm to the mixer. In the kitchen, sockets for small appliances usually sit on the backsplash 10–25 cm above the worktop. These are recommendations, not strict rules: heights are matched to the furniture and your routine.
How to check: stand mentally by the bed — can you reach the switch and the charger? At the desk, are there enough sockets for a computer, a monitor and a lamp? Where will the stick vacuum and the robot vacuum charge?
The lighting plan and switching diagram is where surprises happen most. It shows which fixtures are wired to which switch. Lying in bed, can you turn off all the lights in the room? Entering the apartment, can you switch on the hallway light without walking in the dark? Scenes and dimmers are marked on this diagram too.
Finish schedule and wall elevations
The finish schedule is a table: for each room it lists wall, floor and ceiling materials with product codes and areas. It is handy for calculating purchases and checking that everything has been agreed.
Elevations show each wall face-on, as if you were standing in front of it. You see the tile layout, backsplash height, positions of sconces, shelves, the TV and mouldings. Elevations are where it is easiest to catch an inconvenience: a shelf over the sink you hit your head on, or a socket that ends up behind the headboard.
Furniture drawings and 3D views
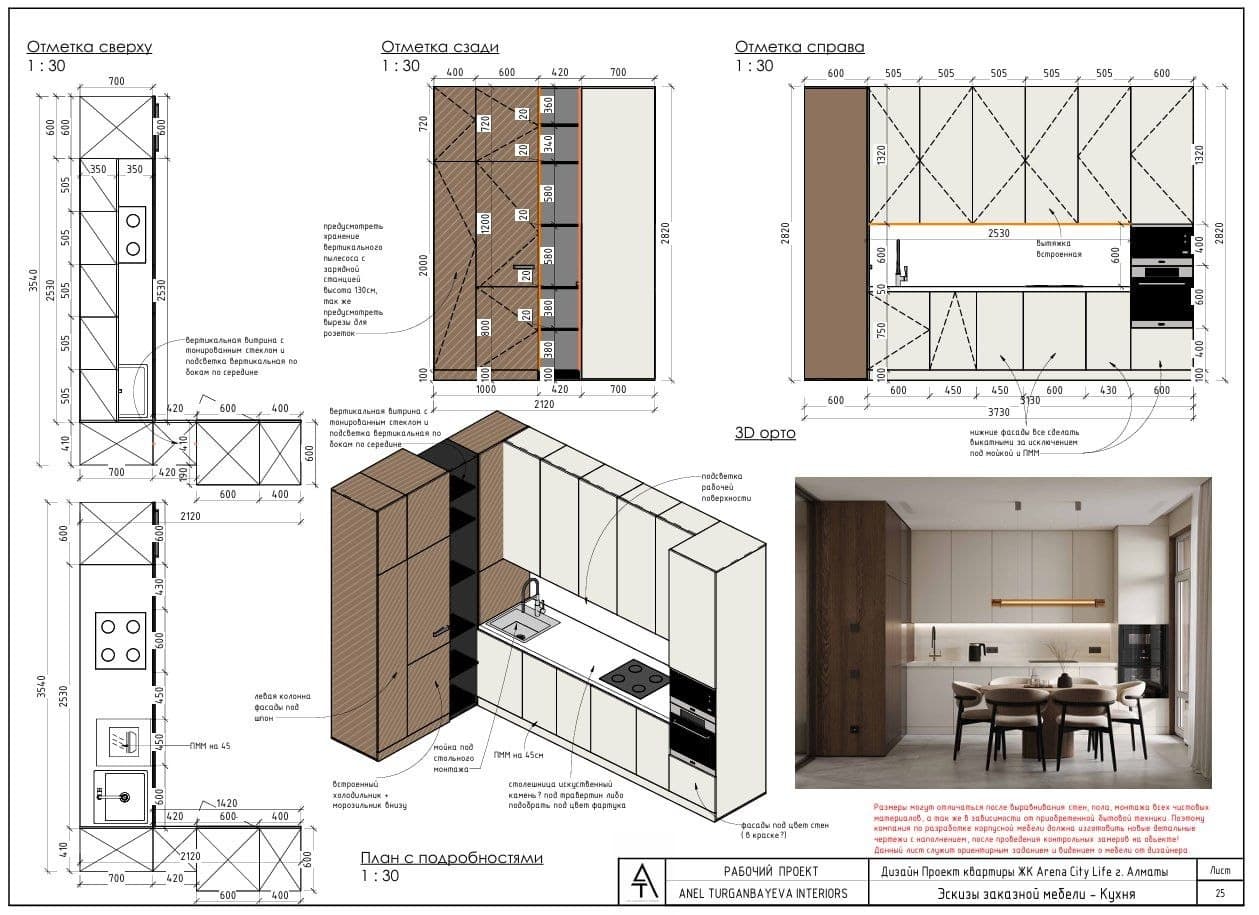
Custom furniture drawings show wardrobes, the kitchen and walk-in closets with dimensions and interior fittings. Check them by "what goes where": every category of things needs its own shelf or drawer. Coats need a rail high enough that a long coat does not touch the bottom. Shoes need shelves of the right depth. The vacuum needs a spot with a socket inside.
3D views link the drawings to the picture. If something on an elevation is unclear, find the same corner in 3D. But remember: builders work from drawings, not renders, so the final word always belongs to the numbers.
Checklist before signing
The survey matches the real apartment: windows, doors, risers, niches.
Passages are comfortable; open appliance and wardrobe doors do not block the way.
Doors do not hide switches; switches are on the handle side.
There are sockets wherever appliances will be, including chargers by the bed and a spot for the vacuum.
You can switch the light on at the entrance and off from bed; the switching diagram is clear.
Underfloor heating is not under furniture; flooring joints are hidden under doors.
Wardrobe interiors match your actual belongings.
The bottom line
There is one rule: live a day inside the drawing. Morning, kitchen, work, evening, sleep — at each step ask yourself whether it is comfortable. An inconvenience found on paper costs nothing to fix; on site it costs money and time. That is the point of drawings: they are a rehearsal of life in the apartment. If you want a documentation package builders can follow without guessing, see our Prices section or message us on WhatsApp.
READ ALSO
Apartment Layout Plan: What It Includes, Cost and How to Check It
How to Write a Brief for an Interior Designer: What to Share So the Project Fits You
How Much Does an Interior Design Project Cost in Kazakhstan in 2026: Prices per m² and Examples