
August 10, 2026
How to Accept Work from Builders: a Checklist for Every Renovation Stage
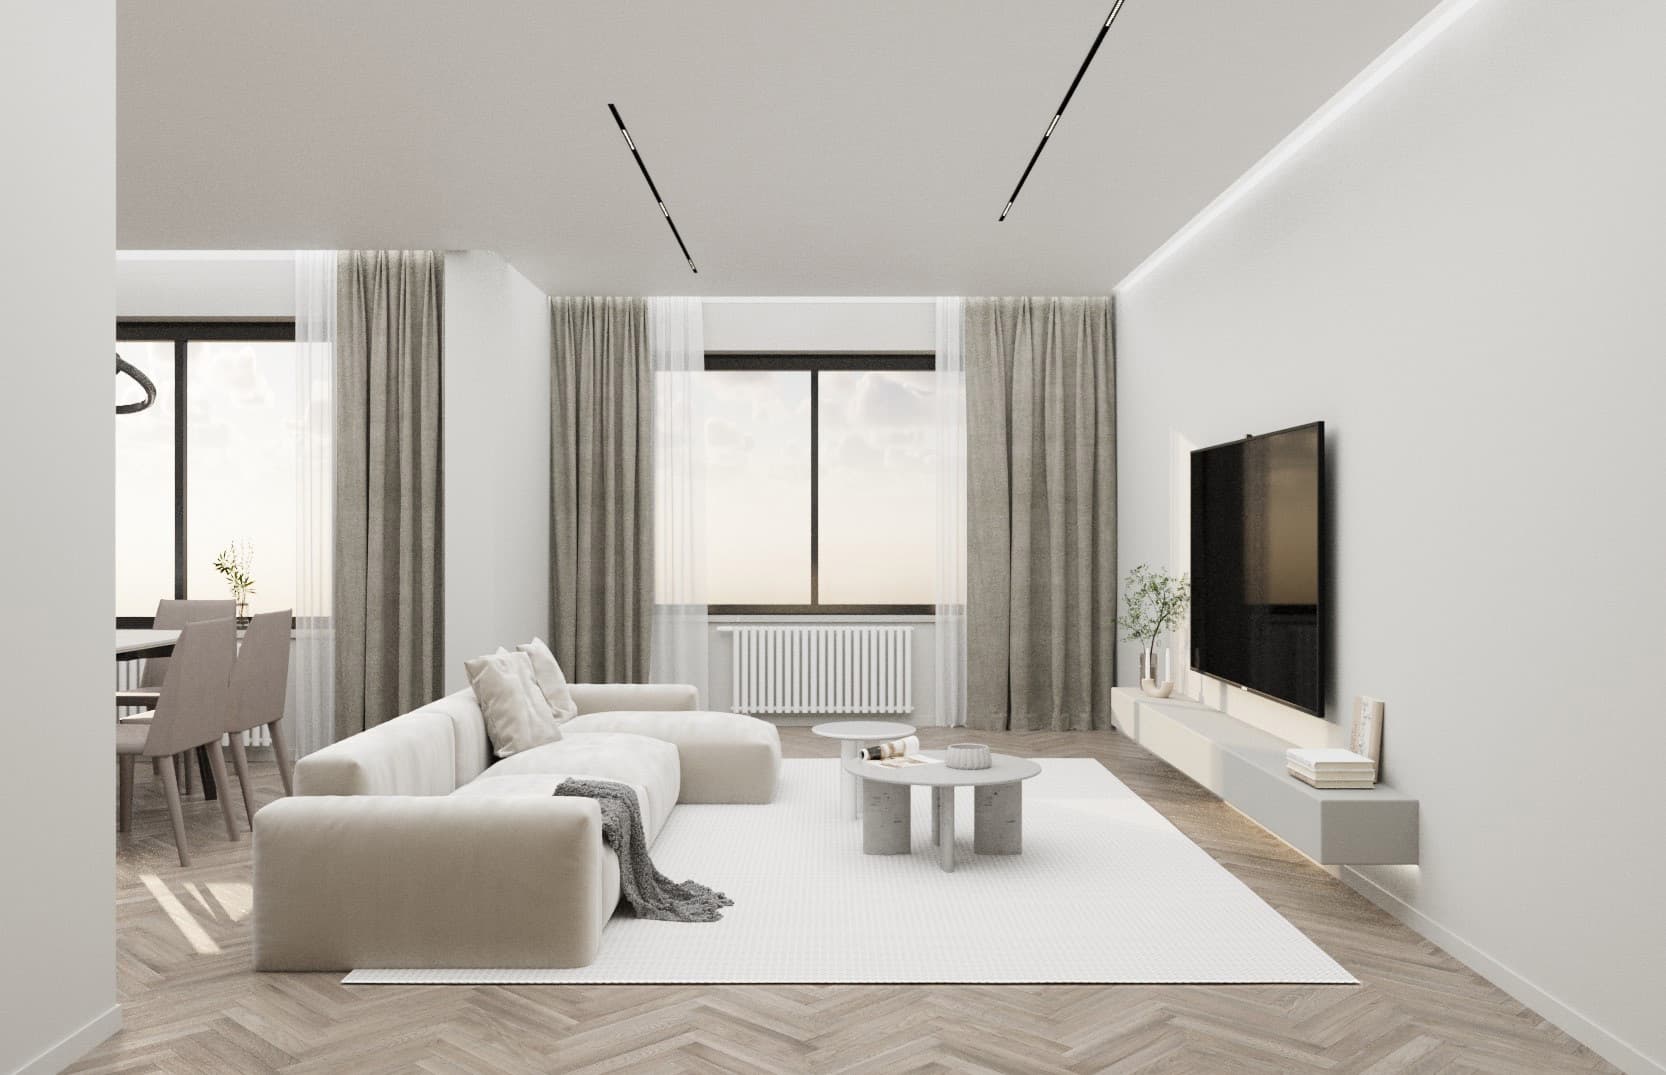
The main acceptance mistake is accepting a renovation once, at the end. By then every rough-stage error is hidden under the finishes, and it is too late to argue. The right way is to accept and pay stage by stage: each next stage closes access to the previous one. Pipes disappear into the screed, cables under plaster, a crooked wall under tiles.
Below is a practical acceptance sequence: which tools you need, what to check at the rough and finishing stages, which tolerances are generally considered normal, how to record defects and how to link acceptance to money. We quote tolerances from the Russian code SP 71.13330 "Insulation and finishing coatings": Kazakhstan has its own regulations, but these values are a handy benchmark that you can write directly into your contract with the crew.
What to prepare in advance
A minimum acceptance kit: a two-meter straightedge (a straight aluminum rule), a spirit level, a square, a tape measure, feeler gauges or wedges to measure gaps, a bright flashlight and a socket tester. You can ask the crew for a laser level — any decent foreman has one.
The main tool is documentation. Acceptance without a project turns into a dispute about taste: "we thought the socket went here." You need an electrical plan with heights, a plumbing plan, a floor plan, wall elevations and a finishes schedule. Our working drawings contain all of these sheets, and acceptance follows them: each point either matches the drawing or it does not.
Before work starts, agree in writing on the criteria for accepting each stage, the plaster quality level required (paint-grade plaster needs higher precision than plaster under tiles) and how defects will be recorded. Then a dispute at acceptance comes down to measurement rather than emotion.
Rough stage: walls and plaster
Walls are checked with a straightedge and level at several points on each wall — vertically, horizontally and diagonally. Under SP 71.13330, improved plaster may deviate from vertical by no more than 2 mm per meter and no more than 10 mm over the full room height; high-quality plaster — no more than 0.5 mm per meter and no more than 5 mm over the height. For paint and light wallpaper it is worth asking for close to high-quality level: any waves will show under side light.
Check corners separately with a square — especially where the kitchen, wardrobes and shower screen will go. A corner that is off by a few millimeters becomes a wedge-shaped gap between the wall and the countertop. Window and door reveals are checked the same way: for high-quality plaster their deviation should not exceed 2 mm per meter.
Tap the walls: a hollow sound means the plaster has come away from the substrate. Such areas must be opened up and redone before skim coating — otherwise they will crack later. If the project is neoclassical with mouldings, geometry is especially important: in a 93 m² apartment in Kamenka Park, quality plastering and moulding layout were planned at the rough stage using wall elevations.
Rough stage: screed and floors
Screed is checked with a two-meter straightedge and feeler gauge in different directions. According to SP 71.13330, the gap under the straightedge for screed under laminate, parquet, engineered wood, linoleum and other polymer coverings must not exceed 2 mm; under other coverings, such as tiles on adhesive, 4 mm. Overall level across the room and between rooms is checked with a laser: a step between rooms will later have to be covered with thresholds.
Tap the screed with a hammer or a metal rod: a change in sound indicates voids and delamination. Look for cracks and find out when the screed was poured: floor coverings are laid only after it has dried according to the recommendations of the mix and covering manufacturers. If the project includes underfloor heating, check the loop layout and sensor position against the floor heating plan before pouring and photograph it.
Electrics: check before plastering
Check every point against the electrical plan: sockets, switches, light outlets and appliance points — position and height. Pay special attention to the kitchen: sockets above the countertop, for built-in appliances, the hood and under-cabinet lighting. A 10 cm error here often means the socket ends up behind a cabinet.
Photograph all cable runs with a tape measure in the frame before they are covered: this is the map that will save you during any future drilling. Check that cables run in straight lines, not diagonally. In the panel, breakers must be labeled by circuit, and wet zones and socket circuits must have residual current protection (RCDs or RCBOs). Ask the electrician to test the circuits in front of you and press the test button on each RCD.
Plumbing: pressure test and photos
Water supply and heating pipes are accepted only after a pressure test, carried out according to regulations and the pipe manufacturer's recommendations; during the test the gauge should show no pressure drop. Ask for the test to be done in your presence or for a video showing the gauge, and then for photos of all runs before they are boxed in or covered with screed.
Check outlets against the plumbing plan: connection heights for mixers, the basin, a wall-hung toilet frame and the washing machine. Drain pipes must slope toward the riser without reverse sections, and access to the trap must remain under the bath and shower tray. Access hatches to meters and valves are a must: it is best to mark their position on the tile elevation in advance.
Finishing stage: tiles
For interior ceramic wall tiling SP 71.13330 recommends: deviation from vertical of no more than 1.5 mm per meter, joint deviation from vertical and horizontal of no more than 1.5 mm per meter, surface unevenness under a two-meter straightedge of no more than 2 mm, and joint width deviation of no more than ±0.5 mm. On floors, lippage between adjacent porcelain tiles must not exceed 1 mm.
Tap the tiles, especially corners and edges: that is where adhesive is most often skimped. A hollow sound means a void, and such a tile can crack from an impact or load. Check the layout: cuts must match the elevation, narrow slivers must not be in view, and wall and floor joints must line up if that was the design. In the shower area, check the slope to the drain — water must not pool.
Finishing stage: paint, floors, doors
Paint is checked with a flashlight: light shone along the wall at a sharp angle reveals dips and streaks invisible head-on. Under SP 71.13330, surfaces painted with water-based paints in living spaces must have no streaks, stains, drips, splashes or touch-ups that stand out, and the color must be within one tone of the manufacturer's palette.
Laminate and parquet: no squeaks or gaps, no lippage between adjacent boards, expansion gaps at the walls covered by skirting, neat transitions between coverings. Doors open smoothly, do not catch the frame, have even gaps and solid hardware. Plumbing does not leak: open all taps, fill the bath and basin, and check the joints and traps after 10–15 minutes.
How to record defects
Record defects in writing: a list with photos, locations and measured deviations. A shared chat or spreadsheet works well, where each item has a status of fixed or not. Sign the acceptance certificate for a stage only after the defects are fixed or a deadline for fixing them is agreed.
All deviations from the project should also be in writing, at least in a messenger: "we agreed verbally" does not exist in a dispute. If the crew suggests departing from the drawing, ask for the reason and agree the decision with the designer: sometimes an on-site change makes sense, and sometimes it breaks a furniture detail two stages later.
Money rules
Pay for completed stages, not "half up front." An advance for materials and the first stage is reasonable; after that, pay for accepted work. Keep 10–15% of the labor cost until final acceptance: it is the main incentive for the crew to finish the small things.
Accept materials bought by the client against delivery notes and check them against the finishes schedule: item code, batch, quantity. Tiles from different batches can differ in tone, so check the batch number on the boxes before installation starts.
When the designer handles acceptance
Our studio does not carry out construction work, but as part of design supervision we make sure the crew works to the project. We visit the site at least once a week, keep photo and video records, send a report and notify you of any deviations from the project within 24 hours. When needed, we update the documentation and help choose finishing materials.
That way the client accepts the result instead of tapping walls in search of voids. For example, we ran the 100 m² apartment on Seifullin Street with design supervision: marble layouts were approved using elevations, and the result matched the visualizations.
Conclusion
Accept your renovation stage by stage, with the project and tools in hand, record defects in writing and pay only for completed stages. Write tolerances into the contract in advance, and acceptance becomes a matter of measurement. Our Renovation Mistakes checklist is useful before you start, and if you want an architect to control each stage, message us on WhatsApp or fill in the project brief.