July 29, 2026
Apartment Electrics: the Socket and Circuit Map Drawn Before Renovation
Electrics are the most expensive thing you can only fix with another renovation. Cables run in wall chases before plastering, and a month later they sit under filler, paint and tiles. Moving a socket 40 cm later means chasing the wall again, patching it and repainting the whole surface. So the electrics have to be thought through before the electrician picks up a drill.
In our working projects the electrical plan is drawn after the furniture layout, not before. First we decide where the sofa, bed, desk, TV and every kitchen appliance will be. Only then are sockets, outlets and switches tied to them. A socket placed on an empty wall almost always ends up behind a wardrobe or half a metre away from where it is needed.
Where the electrical plan starts
Step one is a list of everything that will be plugged in. It sounds dull, but this is where you discover sockets for a robot vacuum in a niche, wardrobe lighting, a motorised curtain rail, a dryer and a scooter charger in the hallway. We go through the list with the client room by room: who sits where, where phones are charged, where hair is dried, where clothes are ironed.
Step two is understanding what the apartment already has. A new build usually comes with the developer's panel, a few breakers and minimal wiring. Find out the power allocated to the apartment: it is in the technical conditions or the building documents, and the management company can confirm it. This number decides whether you can run the oven, hob, water heater and air conditioners at the same time.
Step three is the plan itself. For each point it shows the type (socket, double socket, cable outlet, switch), the height from the finished floor and a dimension to the nearest wall or opening. An electrician working from such a plan does not need to call the designer or improvise.
Kitchen: the busiest zone
We put 4–5 sockets above the worktop: kettle, coffee machine, toaster, blender and charging. With a standard worktop of about 90 cm, sockets usually go at 105–110 cm from the floor, 15–20 cm above the surface. Lower is a bad idea because of splashes and crumbs; higher leaves cables hanging over the work area.
Heavy appliances get their own circuits from the panel with no intermediate sockets. For an electric hob of around 7 kW on a single-phase supply, a 3×6 mm² copper cable and a 32 A breaker with leakage protection are typical. The final cable size and breaker rating come from the specific model's manual. The oven, dishwasher and washing machine each get their own circuit too.
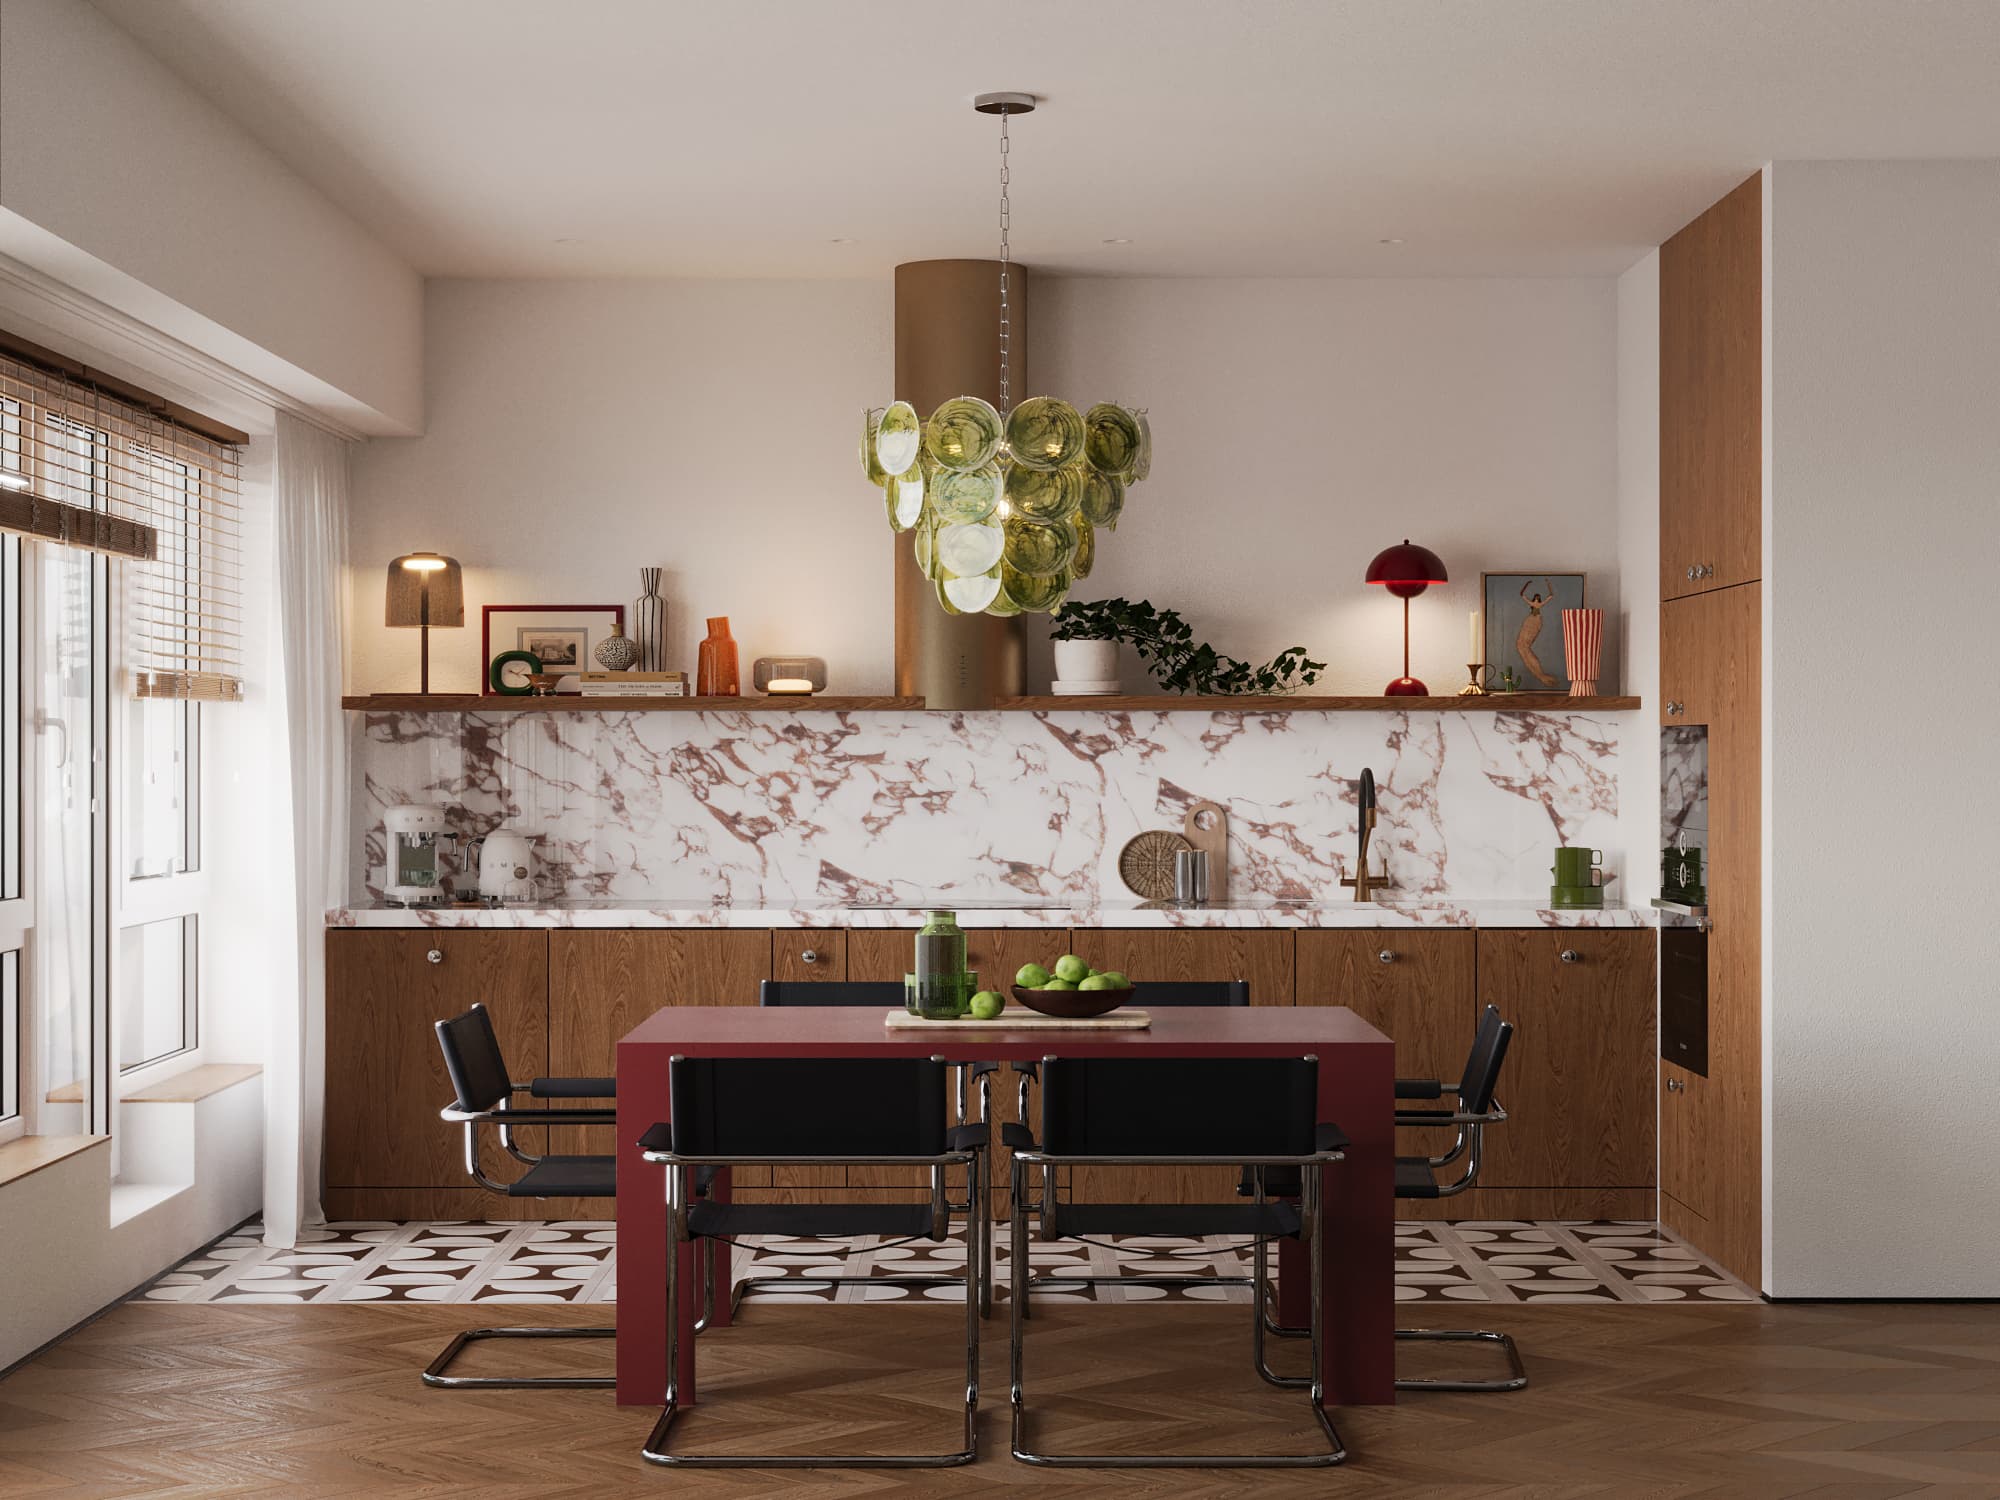
Sockets for built-in appliances go not behind the appliance but in the next cabinet or the plinth, so you can reach the plug without pulling out the dishwasher. We also plan the extractor hood outlet above the wall cabinets, the fridge, a waste disposer and worktop lighting. Kitchen heights and zones are covered in detail in our kitchen ergonomics checklist.
Living room, bedroom, kids' room
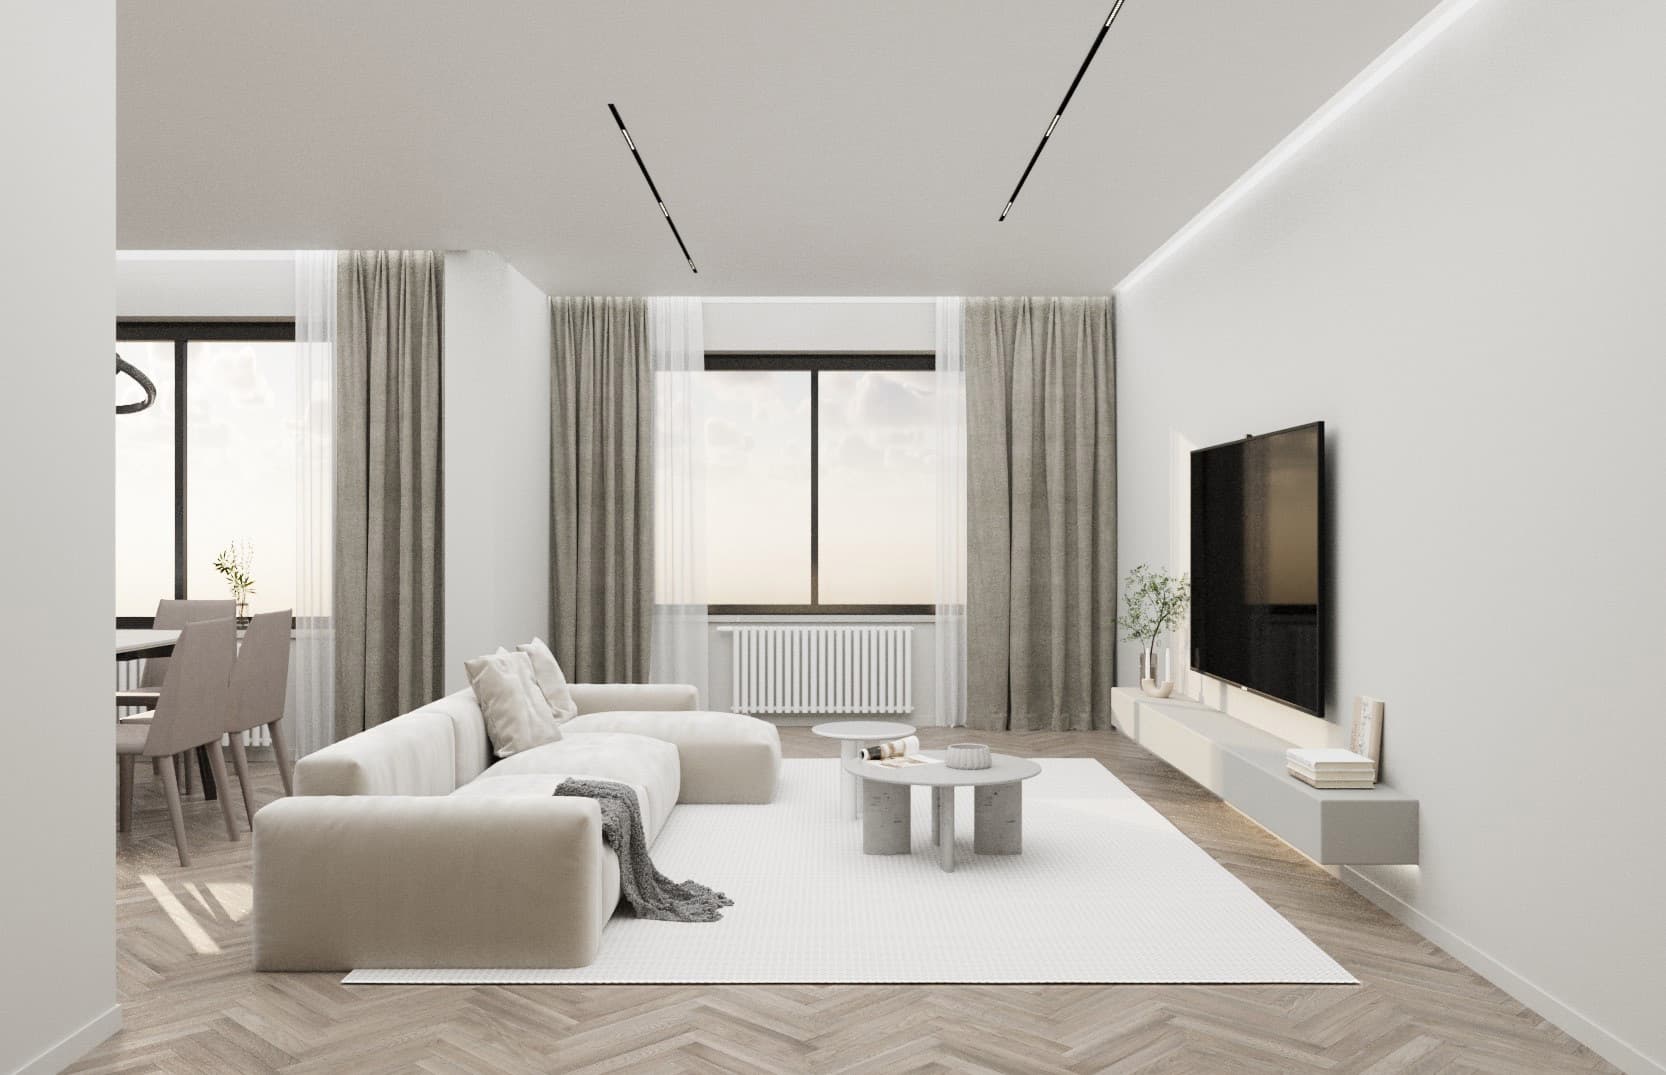
Living room. The TV zone needs a block of 4–5 sockets behind the TV plus low-voltage outlets: an internet cable and, if needed, a soundbar cable. If the TV is wall-mounted, sockets go at mounting height so cables do not hang down. By the sofa, a socket on each side and one for a floor lamp. Regular sockets around the room we place about 30 cm above the floor, where they are unobtrusive and easy to reach.
Bedroom. Two sockets on each side of the bed, for a phone and a lamp. The height follows the bedside table: just above its top, so you never crawl under it. Bedside switches are two-way, so you switch the light on at the door and off lying down. A dressing table needs a socket for a hairdryer and mirror lighting.
Kids' room and study. At a desk, at least 3–4 sockets above the top or in a desk unit: computer, monitor, lamp, chargers. In a child's room choose sockets with shutters over the contacts and avoid placing them low next to a small child's bed.
Bathroom and hallway: safety first
A bathroom is a high-risk room. The international standard IEC 60364-7-701 divides it into zones: zone 0 is inside the bath or shower tray, zone 1 above it, and zone 2 a 0.6 m strip around it. Ordinary sockets are not placed in these zones. The hairdryer socket by the mirror and the washing machine socket go outside zone 2, and all bathroom circuits are protected by an RCD rated at no more than 30 mA.
The washing machine and water heater get separate circuits. The washer socket goes to the side or higher up rather than behind the machine at floor level, so a leak cannot reach it. Light fittings in wet zones need a suitable IP rating, and in a shower niche they should be low-voltage.
Hallway. You need sockets for the router (usually in or near the low-voltage box), the vacuum cleaner, a robot vacuum dock and, if wanted, a shoe dryer. Switches go by the entrance on the door handle side, at about 90 cm, comfortable for adults and teenagers alike.
Cables, circuits and the panel
Socket circuits use 2.5 mm² copper cable; lighting uses a smaller size calculated by the electrician. Aluminium is not used in new apartments. Socket circuits are split by room: kitchen, bathroom, bedrooms, living room. Then a tripped breaker does not cut power to the whole apartment, and faults are easier to find.
Every breaker in the panel is labelled by zone: kitchen sockets, hob, bathroom, bedroom lights. Socket and wet-zone circuits get 30 mA RCDs or RCBOs. This is what the electrical installation rules require for socket circuits and the main protection against electric shock. Leave free slots in the panel for future breakers.
The reserve rule: count your sockets and add 20%. The number of devices only grows. An extra socket in the wall costs very little; an extension cord across the room spoils both the look and the safety.
Common mistakes
Sockets behind furniture: a wardrobe or bed covers the only socket. The only cure is planning furniture before electrics. Sockets by the hob or sink: avoid them above the cooktop and within 20 cm of the sink. One circuit for the whole kitchen: kettle, microwave and oven together and the breaker trips every morning.
No light switch by the bed: getting up in the dark to reach the switch by the door is a typical complaint a month after renovation. Forgotten curtains, lighting and smart devices: a curtain motor needs an outlet near the ceiling, an LED strip needs an accessible spot for its driver. No photos of cable routes: a year later nobody remembers where the cable runs, and the shelf screw goes right into it.
Checklist before plastering
Before the walls are closed, check that every point matches the plan and height; heavy appliances are on separate circuits; there are no sockets in the bathroom zones near the bath and shower; all breakers are labelled, with RCDs on sockets and wet zones; the panel has free slots; the electrician has tested the circuits.
Most importantly, photograph every wall with its cable routes, with a tape measure in the frame. It is the only insurance against drilling into a cable when you hang a picture a year later. Keep the photos with the project.
Conclusion
Good electrics are invisible: the socket is where you reach for it, lights switch on from convenient spots and breakers do not trip in the morning. There is only one way to get there: furniture and daily routines first, then an electrical plan with heights and dimensions. That plan is part of our working project together with the lighting plan and control scheme, from 3,300 ₸/m², or 100,000 ₸ for apartments up to 40 m². To estimate the cost for your area, use the calculator on the Prices page or message us on WhatsApp.